Creating Clean Corner Cuts in Leathercraft
In leathercraft, the precision of your cuts can significantly influence the overall quality and aesthetic of your finished product. Clean corner cuts are particularly crucial, as they not only enhance the visual appeal but also contribute to the structural integrity of the item. When corners are cut cleanly, they create a seamless transition between edges, which is essential for items like wallets, bags, and belts.
A well-executed corner cut can elevate a simple design into a professional-looking piece, showcasing the craftsmanship involved in leatherworking. Moreover, clean corner cuts can affect how well the leather pieces fit together. When assembling multiple components, any irregularities in the corners can lead to misalignment, resulting in gaps or uneven edges.
This can compromise the functionality of the item and detract from its overall appearance. Therefore, mastering the technique of making clean corner cuts is not just about aesthetics; it is also about ensuring that your leathercraft projects are durable and well-constructed.
Key Takeaways
- Clean corner cuts are important for achieving a professional and polished look in leathercraft projects.
- Tools and materials needed for clean corner cuts include a sharp knife, cutting mat, ruler, and leather conditioner.
- Preparing the leather for clean corner cuts involves marking the cutting lines and ensuring the leather is properly conditioned and stabilized.
- Techniques for making clean corner cuts include using a sharp knife, cutting at the correct angle, and making precise and steady cuts.
- Troubleshooting common issues with corner cuts includes addressing uneven cuts, fraying edges, and cutting too deeply into the leather.
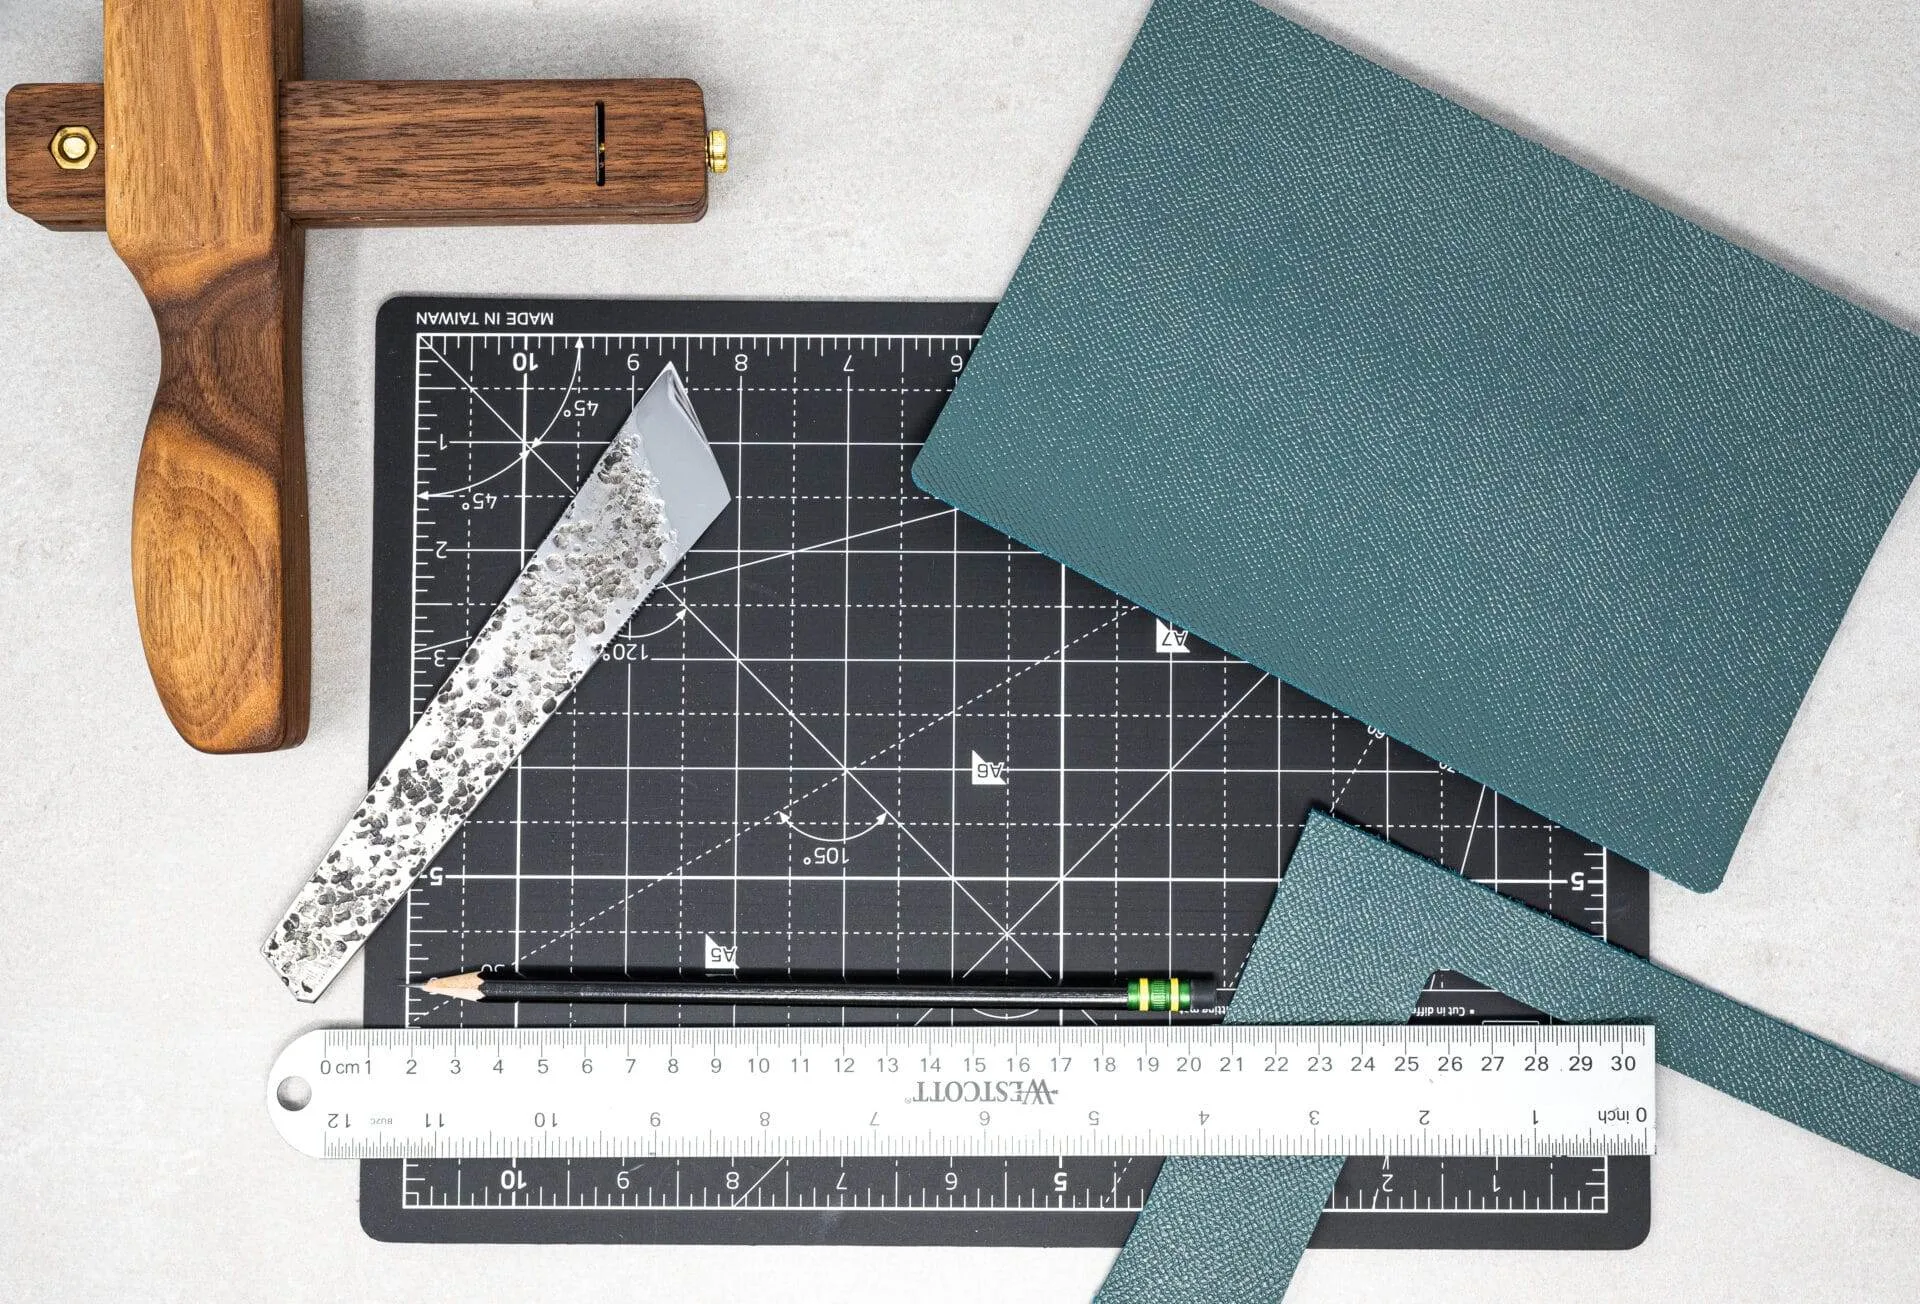
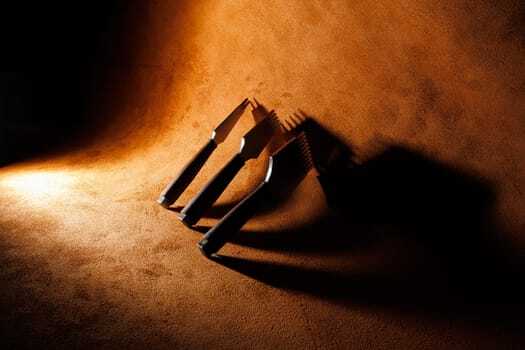
Tools and Materials Needed for Clean Corner Cuts
To achieve clean corner cuts in leather, having the right tools and materials is essential. A sharp utility knife or a dedicated leathercraft knife is fundamental for making precise cuts. The blade should be kept sharp to ensure that it glides through the leather without tearing or fraying the edges.
Additionally, a cutting mat can provide a safe surface that protects both your work area and your tools while allowing for accurate measurements. In addition to cutting tools, a ruler or straight edge is necessary for guiding your cuts. This helps maintain straight lines and ensures that corners are cut at the correct angles.
A corner punch or a set of corner templates can also be beneficial for achieving uniformity in your cuts. These tools allow you to create rounded or beveled corners consistently, which can add a polished touch to your projects. Lastly, having a good quality leather adhesive on hand can assist in securing pieces together after cutting, ensuring that your corners remain intact during assembly.
Preparing the Leather for Clean Corner Cuts
Before making any cuts, it is vital to prepare the leather properly. Start by selecting a high-quality piece of leather that suits your project’s requirements. The thickness and type of leather will influence how easily it can be cut and how well it will hold its shape after cutting.
Once you have chosen your leather, lay it flat on a clean surface to avoid any wrinkles or creases that could affect your cuts. Next, measure and mark your cutting lines carefully. Using a pencil or a specialized leather marking tool, draw clear lines where you intend to cut.
It is advisable to double-check your measurements to ensure accuracy before proceeding. If you are working with thicker leather, consider using a rotary cutter for more control over your cuts. Proper preparation not only sets the stage for clean corner cuts but also minimizes the risk of mistakes that could lead to wasted materials.
Techniques for Making Clean Corner Cuts
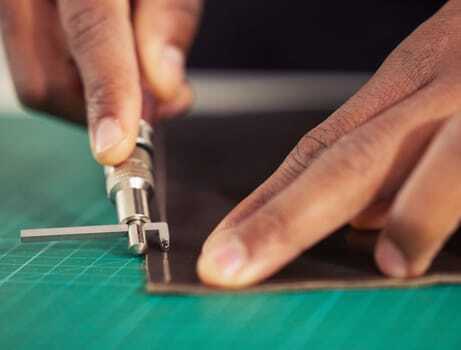
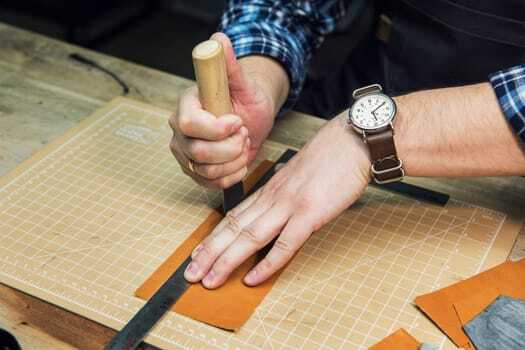
When it comes to making clean corner cuts, technique plays a pivotal role. One effective method is to use a combination of scoring and cutting. Start by lightly scoring along your marked lines with a sharp blade; this creates a guide that helps prevent the leather from tearing as you make deeper cuts.
After scoring, follow up with a more decisive cut along the same line, applying even pressure to ensure a smooth finish. Another technique involves using corner templates or punches to achieve consistent shapes. If you desire rounded corners, place the template at the corner and trace around it with a pencil before cutting.
This method not only ensures uniformity across all corners but also adds an element of design to your project. For more intricate designs, consider using a swivel knife to carve out details before making your final cuts. This approach allows for greater creativity while still maintaining clean edges.
Troubleshooting Common Issues with Corner Cuts
Even with careful preparation and technique, issues can arise when making corner cuts in leather. One common problem is fraying at the edges, which can occur if the blade is dull or if too much pressure is applied during cutting. To avoid this, always ensure that your tools are sharp and that you are using smooth, controlled motions when cutting.
If fraying does occur, consider using edge finishing products to seal and smooth out the edges after cutting. Another issue may involve uneven cuts or misaligned corners. This can happen if measurements are not taken accurately or if the cutting guide slips during the process.
To troubleshoot this, take extra time to measure and mark your lines carefully before cutting. Using clamps or weights can help keep your leather in place while you work, reducing the likelihood of slippage. If you find that your corners are still uneven after cutting, you can use sandpaper or an edge beveler to refine them further.
Finishing and Polishing Clean Corner Cuts
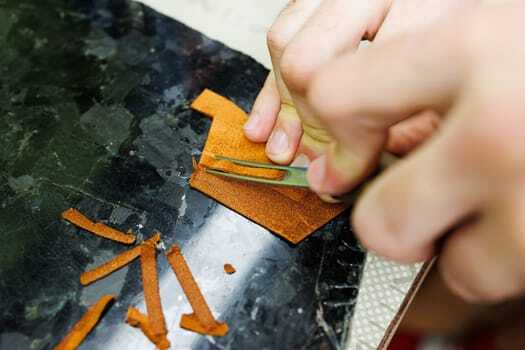
Trimming Excess Material
Start by trimming any excess material around the corners to ensure they are uniform and neat. After trimming, use an edge beveler to round off sharp edges; this not only enhances the appearance but also prevents potential wear and tear over time.
Applying an Edge Finish
After beveling, consider applying an edge finish or burnishing solution to seal the edges of your cuts. This process involves rubbing the edges with a burnishing tool or cloth to create a smooth surface that resists fraying and enhances durability.
Adding a Final Touch
Additionally, applying a coat of leather conditioner can help maintain the suppleness of the leather while adding a subtle sheen to your finished corners.
Enhancing Overall Quality
These finishing touches are crucial for elevating your project from amateur to artisan quality.
Incorporating Clean Corner Cuts into Leathercraft Projects
Clean corner cuts can be seamlessly integrated into various leathercraft projects, enhancing both functionality and aesthetics. For instance, when creating wallets or cardholders, well-executed corner cuts allow for smooth openings and closures, making these items more user-friendly. Similarly, bags with cleanly cut corners not only look more polished but also provide better structural support, ensuring that they hold their shape over time.
In addition to functional items, clean corner cuts can also be used creatively in decorative pieces such as keychains or coasters. By experimenting with different shapes and sizes of corner cuts, you can add unique design elements that set your work apart from others. Whether you are crafting practical items or artistic pieces, incorporating clean corner cuts will undoubtedly enhance the overall quality and appeal of your leatherwork.
Tips for Maintaining Clean Corner Cuts Over Time
Maintaining clean corner cuts over time requires regular care and attention to detail. One of the best practices is to store your leather items properly when not in use; avoid placing heavy objects on top of them as this can distort their shape and affect the integrity of your cuts. Instead, consider using padded storage solutions or hanging items when possible to preserve their form.
Additionally, regular cleaning and conditioning of your leather will help maintain its appearance and prevent wear at the corners. Use a soft cloth to wipe away dust and dirt, followed by a suitable leather conditioner to keep it supple and prevent cracking. If you notice any fraying or damage at the corners over time, address these issues promptly by re-beveling or applying edge finish products as needed.
By taking these steps, you can ensure that your clean corner cuts remain sharp and attractive throughout the life of your leathercraft projects.
FAQs
What tools are needed to create clean corner cuts in leathercraft?
To create clean corner cuts in leathercraft, you will need a sharp utility knife or leather cutting tool, a cutting mat, a ruler or straight edge, and a pencil or leather marking tool.
What is the best technique for creating clean corner cuts in leathercraft?
The best technique for creating clean corner cuts in leathercraft is to use a sharp cutting tool and a steady hand. Start by marking the corner with a pencil or leather marking tool, then carefully cut along the marked lines using a ruler or straight edge to guide the cutting tool.
Are there any tips for achieving clean corner cuts in leathercraft?
Some tips for achieving clean corner cuts in leathercraft include using a sharp cutting tool, making sure the leather is securely held in place on a cutting mat, and taking your time to ensure precision and accuracy in the cutting process.
What are some common mistakes to avoid when creating corner cuts in leathercraft?
Common mistakes to avoid when creating corner cuts in leathercraft include using a dull cutting tool, not securing the leather properly while cutting, and rushing the cutting process. It’s important to take your time and use the right tools to achieve clean and precise corner cuts.