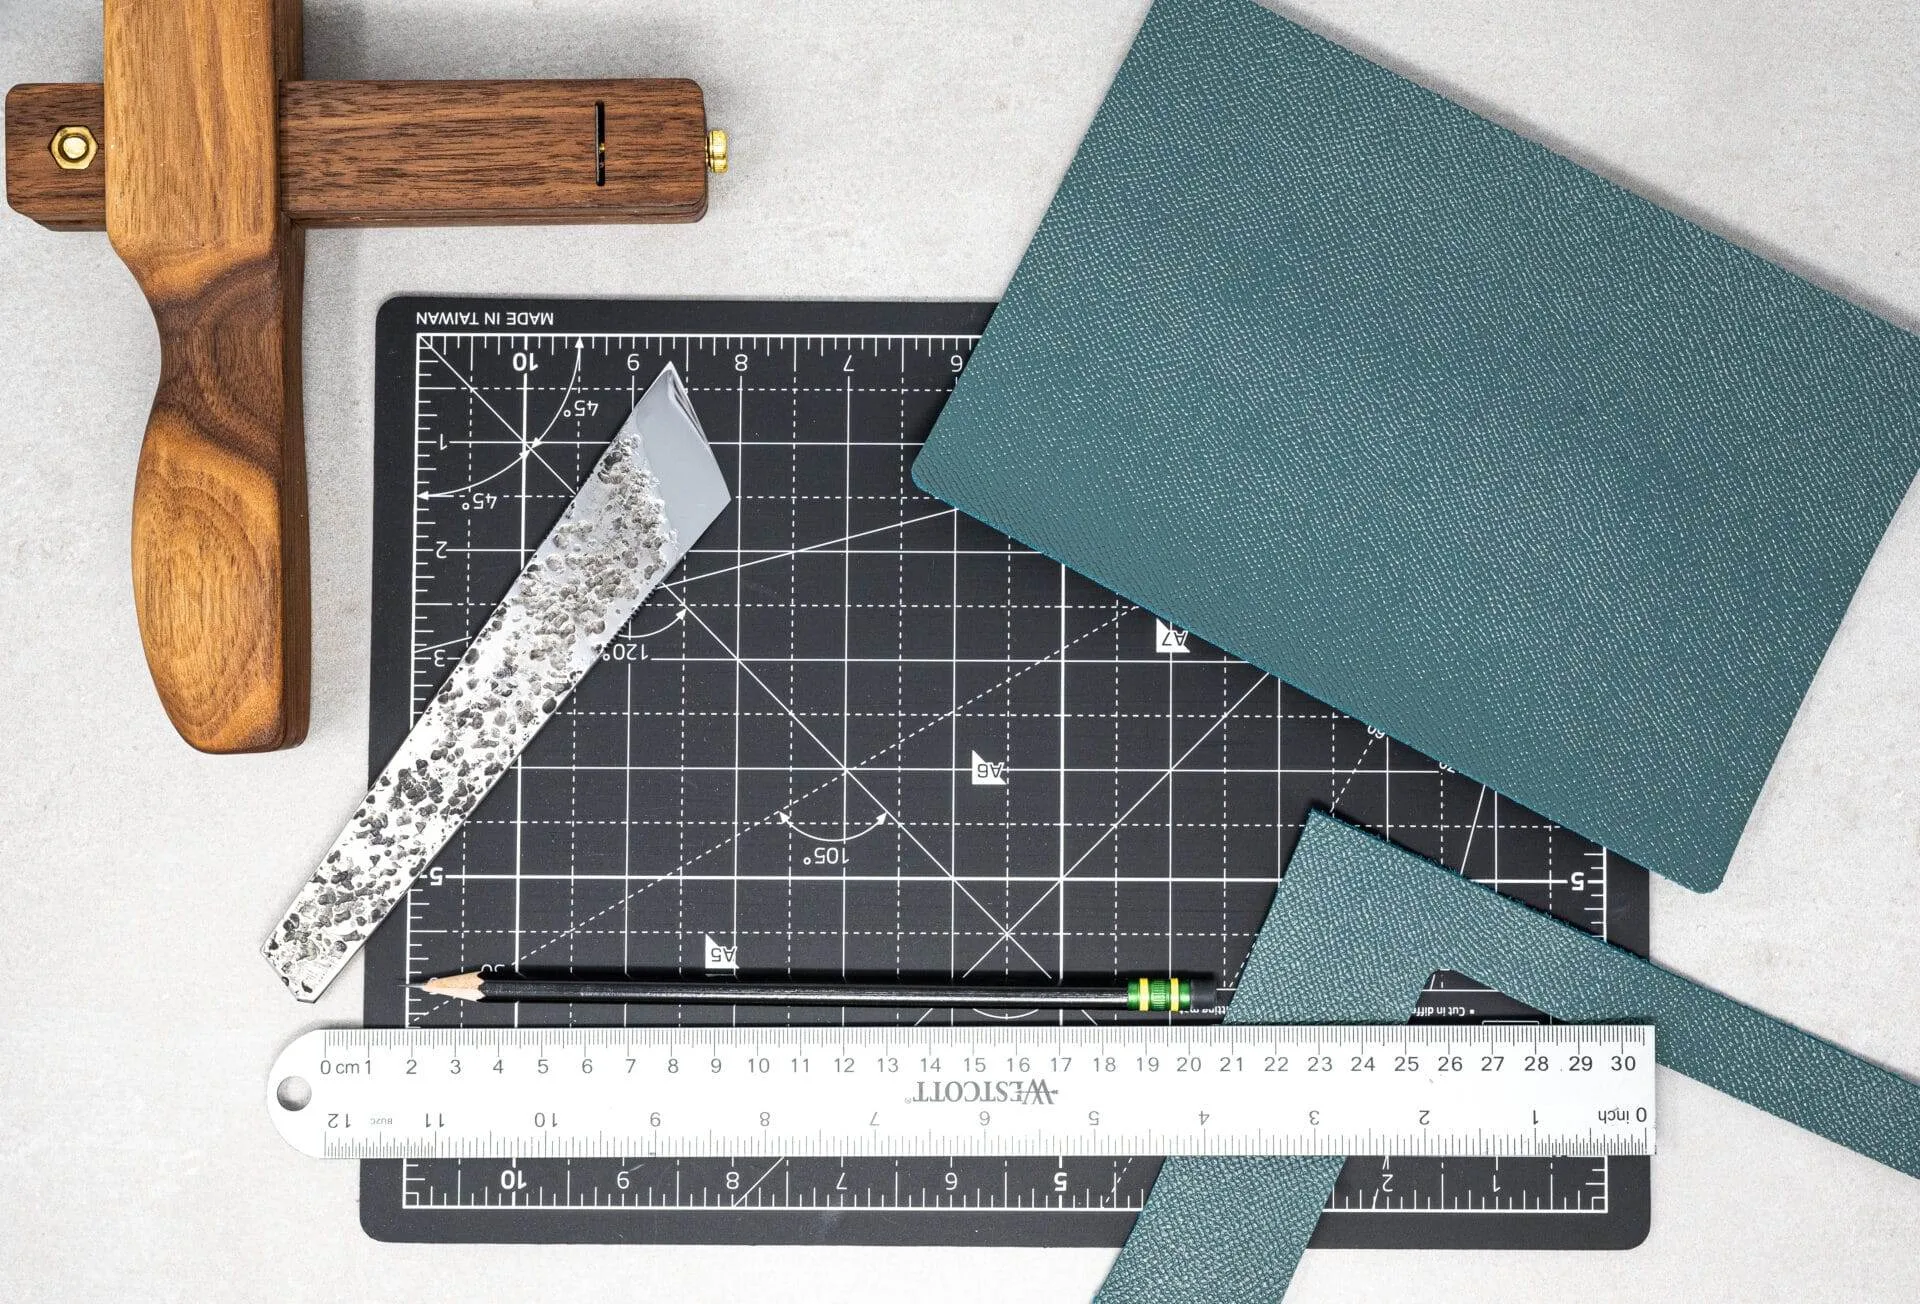
Leather Surface Preparation Guide for Leathercraft
Leather is a unique material that has been cherished for centuries due to its durability, versatility, and aesthetic appeal. At its core, leather is derived from animal hides, which undergo a complex tanning process to transform them into a usable product. Understanding the characteristics of leather is essential for anyone looking to work with it, whether for crafting, repairing, or customizing items.
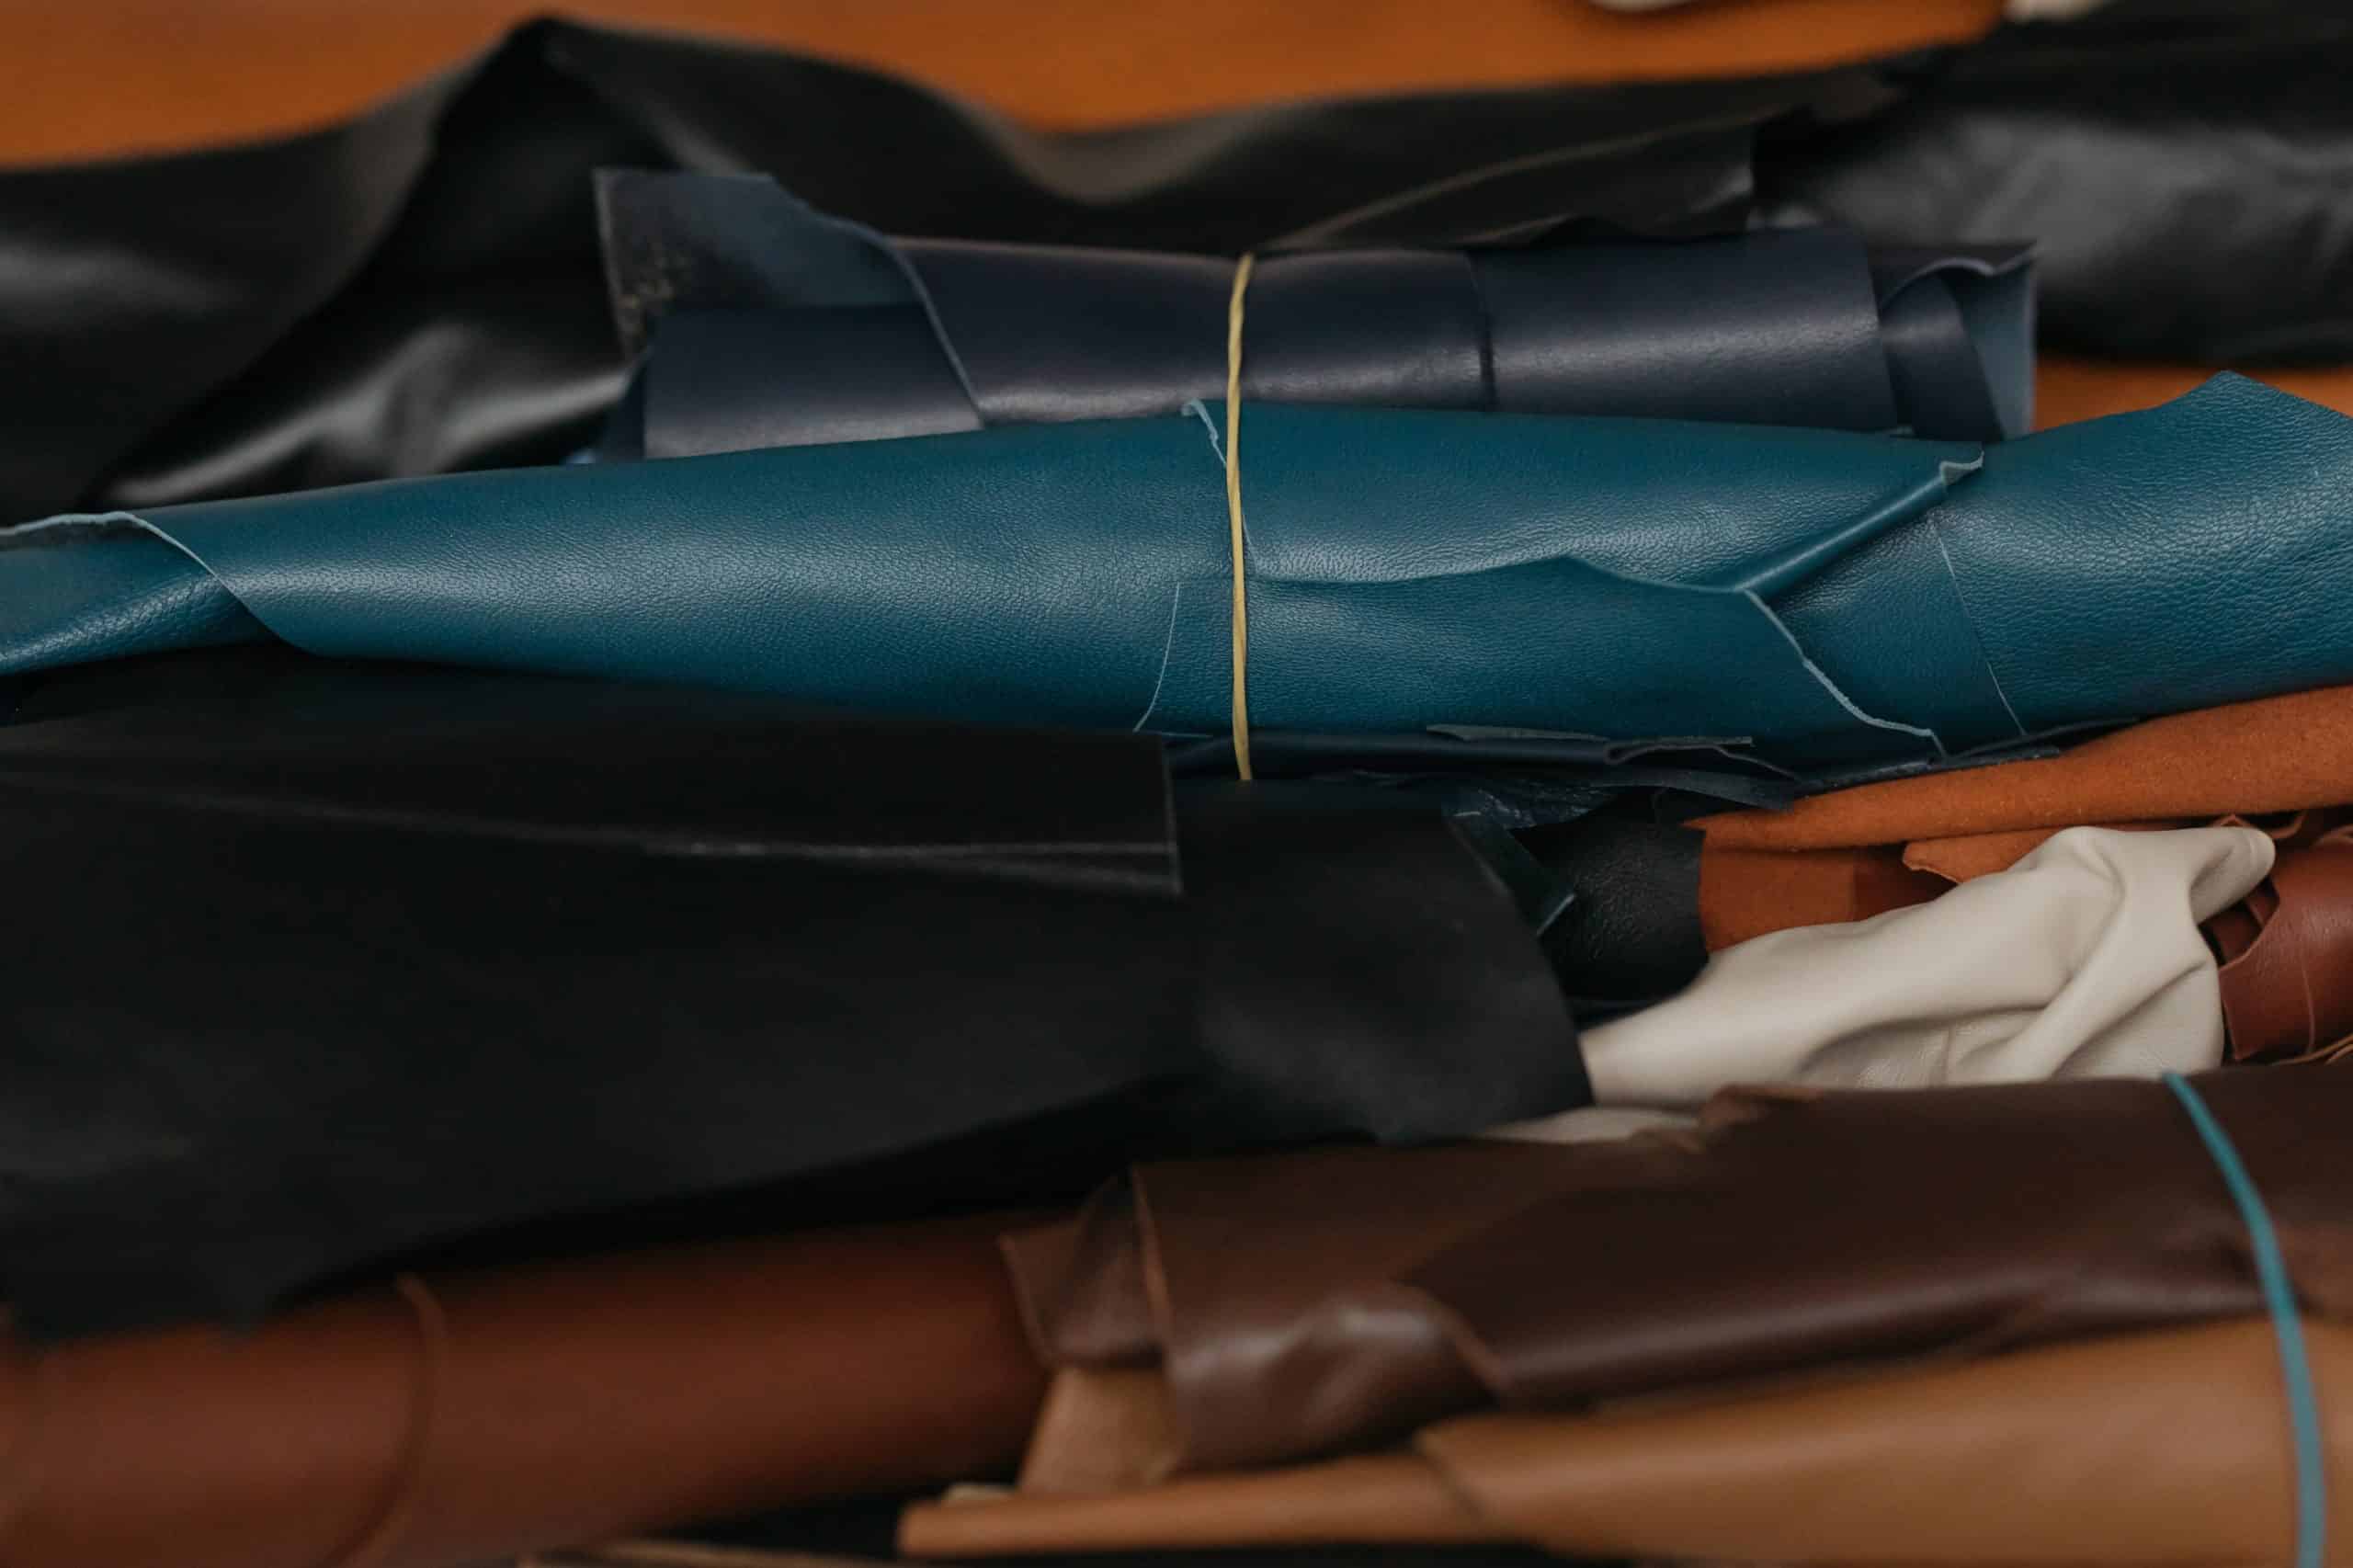
The surface of leather can vary significantly based on the type of animal it comes from, the tanning method used, and the finishing techniques applied. Different types of leather exhibit distinct textures and finishes. For instance, full-grain leather retains the natural grain and imperfections of the hide, making it highly sought after for its authenticity and strength.
On the other hand, corrected-grain leather has been sanded and treated to remove blemishes, resulting in a more uniform appearance. Recognizing these differences is crucial when selecting leather for a project, as they will influence not only the final look but also the techniques required for preparation and finishing.
Key Takeaways
- Understanding the Leather Surface
- Different types of leather require different preparation techniques
- The surface must be clean and free of any dirt or oils before proceeding with any treatment
- Cleaning and Preparing the Leather
- Use a mild soap and water solution to gently clean the leather surface
- Allow the leather to dry completely before moving on to the next step
- Sanding and Smoothing the Leather
- Use fine-grit sandpaper to smooth out any rough spots or imperfections
- Be gentle to avoid damaging the leather
- Dyeing and Coloring the Leather
- Choose a high-quality leather dye for best results
- Apply the dye evenly and allow it to dry completely before conditioning the leather
- Applying Leather Conditioner
- Use a conditioner specifically designed for leather to keep it soft and supple
- Apply the conditioner in a thin, even layer and allow it to absorb into the leather before buffing
- Burnishing and Polishing the Leather
- Use a burnishing tool to smooth the edges of the leather
- Polish the leather with a soft cloth to bring out its natural shine
- Preparing Leather for Tooling and Stamping
- Use a damp sponge to moisten the leather before tooling or stamping
- Allow the leather to dry completely before proceeding with any further treatments
- Tips for Proper Leather Surface Preparation
- Always test any products or techniques on a small, inconspicuous area of the leather first
- Take your time and be patient to achieve the best results
Cleaning and Preparing the Leather
Before embarking on any leather project, it is vital to clean and prepare the leather surface properly. Dust, dirt, and oils can accumulate on leather over time, affecting its appearance and the effectiveness of subsequent treatments. A gentle cleaning solution specifically designed for leather should be used to remove any contaminants without damaging the material.
Soft cloths or sponges are ideal for this task, as they can effectively lift dirt without scratching the surface. Once cleaned, it is essential to assess the condition of the leather. Look for signs of wear, such as cracks or discoloration, which may require additional attention before proceeding with any further treatments.
If the leather is particularly dry or stiff, it may benefit from a conditioning treatment to restore its suppleness. Proper preparation sets the stage for successful dyeing, tooling, or any other finishing techniques that may follow.
Sanding and Smoothing the Leather
Sanding is a critical step in preparing leather for various applications, especially when aiming for a smooth finish or when working with thicker hides. The process involves using fine-grit sandpaper to gently abrade the surface of the leather, removing any imperfections and creating a more uniform texture. It is important to approach this step with care; excessive sanding can lead to thinning of the leather or unwanted damage.
When sanding leather, it is advisable to work in small sections and to use a light touch. This allows for better control and minimizes the risk of over-sanding. After sanding, it is beneficial to wipe down the surface with a damp cloth to remove any dust particles created during the process.
This ensures that the leather is clean and ready for any subsequent treatments or finishes.
Dyeing and Coloring the Leather
Dyeing leather is an art form that can dramatically alter its appearance and character. There are various methods available for coloring leather, including using alcohol-based dyes, water-based dyes, or even natural dyes derived from plants. Each method has its own set of advantages and challenges, making it essential to choose one that aligns with your project goals.
Before applying dye, it is crucial to test it on a scrap piece of leather or an inconspicuous area to ensure that the desired color is achieved. The application process can vary depending on the type of dye used; some may require brushes or sponges, while others can be applied with a spray bottle for an even finish. Layering dye can create depth and richness in color, but patience is key—allowing each layer to dry thoroughly before applying additional coats will yield the best results.
Applying Leather Conditioner
After dyeing, applying a leather conditioner is an important step in maintaining the integrity and longevity of the material. Leather conditioners help to replenish oils that may have been lost during cleaning or dyeing processes, ensuring that the leather remains supple and resistant to cracking. There are many types of conditioners available on the market, ranging from creams to oils, each designed to penetrate and nourish the leather.
When applying conditioner, it is best to use a soft cloth or sponge to work it into the leather gently. Focus on areas that may be particularly dry or prone to wear. Allowing the conditioner to absorb fully before buffing off any excess will help achieve a balanced finish.
Regular conditioning not only enhances the appearance of leather but also protects it from environmental factors such as moisture and UV rays.
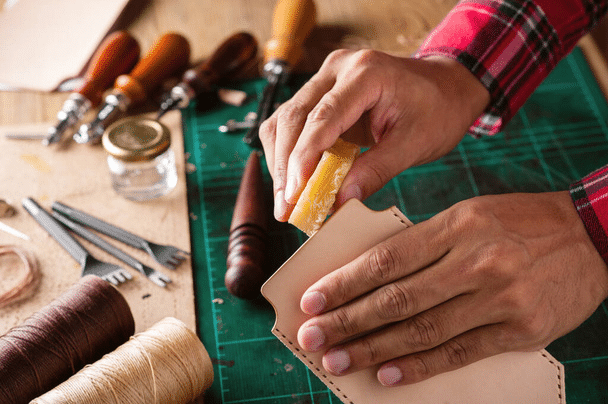
Burnishing and Polishing the Leather
Burnishing is a technique used to smooth and seal the edges of leather projects, giving them a polished look while also enhancing durability. This process involves rubbing the edges with a burnishing tool or a smooth object like a wooden spoon or bone folder. The friction generated during burnishing compresses the fibers at the edge of the leather, resulting in a sleek finish that prevents fraying.
After burnishing, polishing can further elevate the appearance of leather items. A high-quality leather polish can be applied using a soft cloth in circular motions to create a shine that highlights the natural beauty of the material. This step not only improves aesthetics but also adds an extra layer of protection against dirt and moisture.
Regular burnishing and polishing can keep leather looking fresh and well-maintained over time.

Preparing Leather for Tooling and Stamping
Tooling and stamping are popular techniques used to add decorative elements to leather projects. Before embarking on these processes, it is essential to prepare the leather surface adequately. This often involves dampening the leather slightly to make it more pliable; this allows tools to create deeper impressions without damaging the material.
Once dampened, it’s important to ensure that the surface is smooth and free from debris that could interfere with tooling or stamping. Using a smooth-edged tool or bone folder can help refine areas where designs will be applied. Planning out designs on paper before transferring them onto leather can also be beneficial; this allows for adjustments before committing to permanent impressions on the material.
Tips for Proper Leather Surface Preparation
Proper preparation of leather surfaces is crucial for achieving high-quality results in any project involving this versatile material. One key tip is to always work in a well-lit area; good lighting helps identify imperfections that may need attention before proceeding with further treatments. Additionally, maintaining a clean workspace minimizes contamination risks that could affect the final outcome.
Another important consideration is temperature and humidity; working in an environment that is too hot or too humid can adversely affect how materials behave during preparation processes like dyeing or conditioning. It’s also wise to invest in quality tools specifically designed for leatherwork; using appropriate knives and awls from reputable sources like LeatherStraps.org can make a significant difference in both ease of use and final results. In conclusion, understanding how to prepare leather surfaces effectively is fundamental for anyone looking to work with this timeless material.
From cleaning and conditioning to dyeing and tooling, each step plays a vital role in ensuring that your projects not only look great but also stand the test of time. By following these guidelines and tips, you can enhance your skills in leathercraft and create beautiful pieces that showcase your craftsmanship.
FAQs
What is leather surface preparation?
Leather surface preparation refers to the process of cleaning, sanding, and conditioning the surface of leather in order to prepare it for dyeing, painting, or other leathercraft techniques.
Why is leather surface preparation important?
Properly preparing the surface of leather is crucial for achieving a smooth and even finish when dyeing or painting. It helps to remove any dirt, oils, or other contaminants that may interfere with the adhesion of dyes or paints.
What are the steps involved in leather surface preparation?
The steps involved in leather surface preparation typically include cleaning the leather with a leather cleaner, sanding the surface to remove any existing finish or smooth out imperfections, and conditioning the leather to restore moisture and flexibility.
What tools and materials are needed for leather surface preparation?
Tools and materials for leather surface preparation may include a leather cleaner, sandpaper or sanding block, leather conditioner, lint-free cloths, and gloves to protect your hands.
Are there different methods for preparing leather surfaces based on the type of leather?
Yes, the method for preparing leather surfaces may vary depending on the type of leather. For example, smooth leather may require different cleaning and conditioning products compared to suede or nubuck leather.
Can leather surface preparation be done at home?
Yes, leather surface preparation can be done at home with the right tools and materials. It is important to follow the instructions provided with the products and to take proper safety precautions, such as wearing gloves and working in a well-ventilated area.