Setting Up Your Leathercraft Working Station
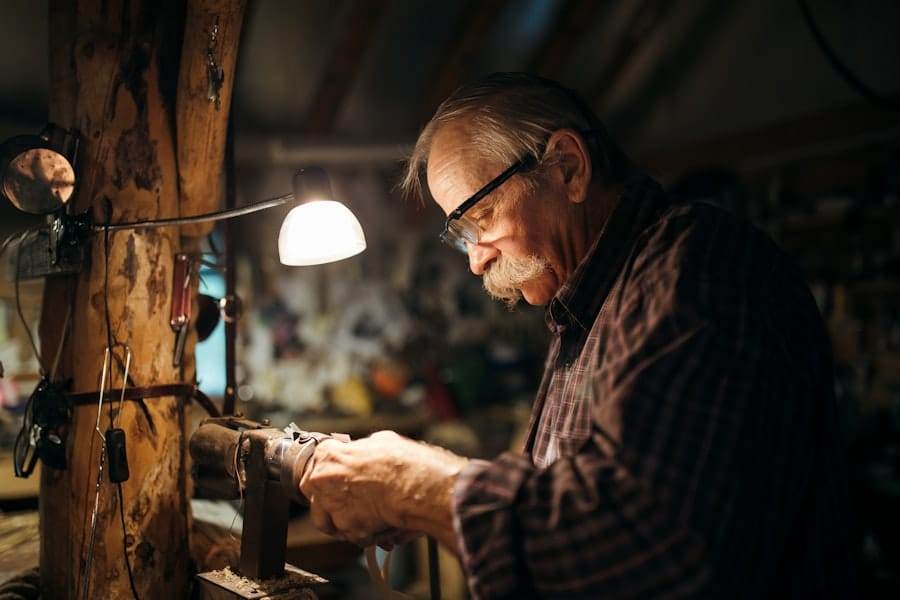
Selecting the ideal space for your leathercraft endeavors is a crucial first step in establishing a productive and enjoyable workspace. The environment you choose should be conducive to creativity and focus, allowing you to immerse yourself in your projects without distractions. Ideally, this space should be well-lit, either through natural light or bright artificial lighting, as good visibility is essential for detailed work.
Consider a room or area that can be dedicated solely to your craft, minimizing interruptions from daily household activities. A garage, basement, or spare room can serve as excellent options, provided they are free from excessive humidity and temperature fluctuations that could affect your materials. In addition to lighting, consider the layout of the space.
A well-organized area with enough room to move around comfortably will enhance your workflow. Think about the proximity of electrical outlets for tools that require power, as well as ventilation if you plan to use adhesives or dyes that emit fumes. The space should also allow for easy access to your tools and materials, reducing the time spent searching for items and increasing your efficiency.
Ultimately, the right space will inspire you to create and provide a sanctuary where you can hone your leathercraft skills.
Key Takeaways
- Choose a well-lit and well-ventilated space for your leathercraft work area
- Organize your tools and materials in a way that is easily accessible and efficient for your workflow
- Set up a sturdy workbench at a comfortable height for your leathercraft projects
- Create a designated cutting and trimming area with proper tools and safety measures in place
- Set up a sewing station with a reliable sewing machine and ample space for fabric and leather manipulation
Organizing Your Tools and Materials
Once you have chosen your workspace, the next step is to organize your tools and materials effectively. A clutter-free environment is essential for maintaining focus and ensuring that you can find what you need when you need it. Start by categorizing your tools into groups based on their function—cutting tools, stitching tools, finishing tools, and so on.
This will help you determine how much storage space you need and where to place each category for easy access. Investing in storage solutions such as toolboxes, pegboards, or shelving units can significantly enhance your organization. For instance, a pegboard allows you to hang frequently used tools within arm’s reach while keeping your work surface clear.
Small bins or drawers can be used to store smaller items like needles, threads, and rivets, ensuring they are not lost in the shuffle. Labeling each container will further streamline your workflow, allowing you to quickly locate specific items without rummaging through piles of supplies. By taking the time to organize your tools and materials thoughtfully, you will create a more efficient workspace that fosters creativity and productivity.
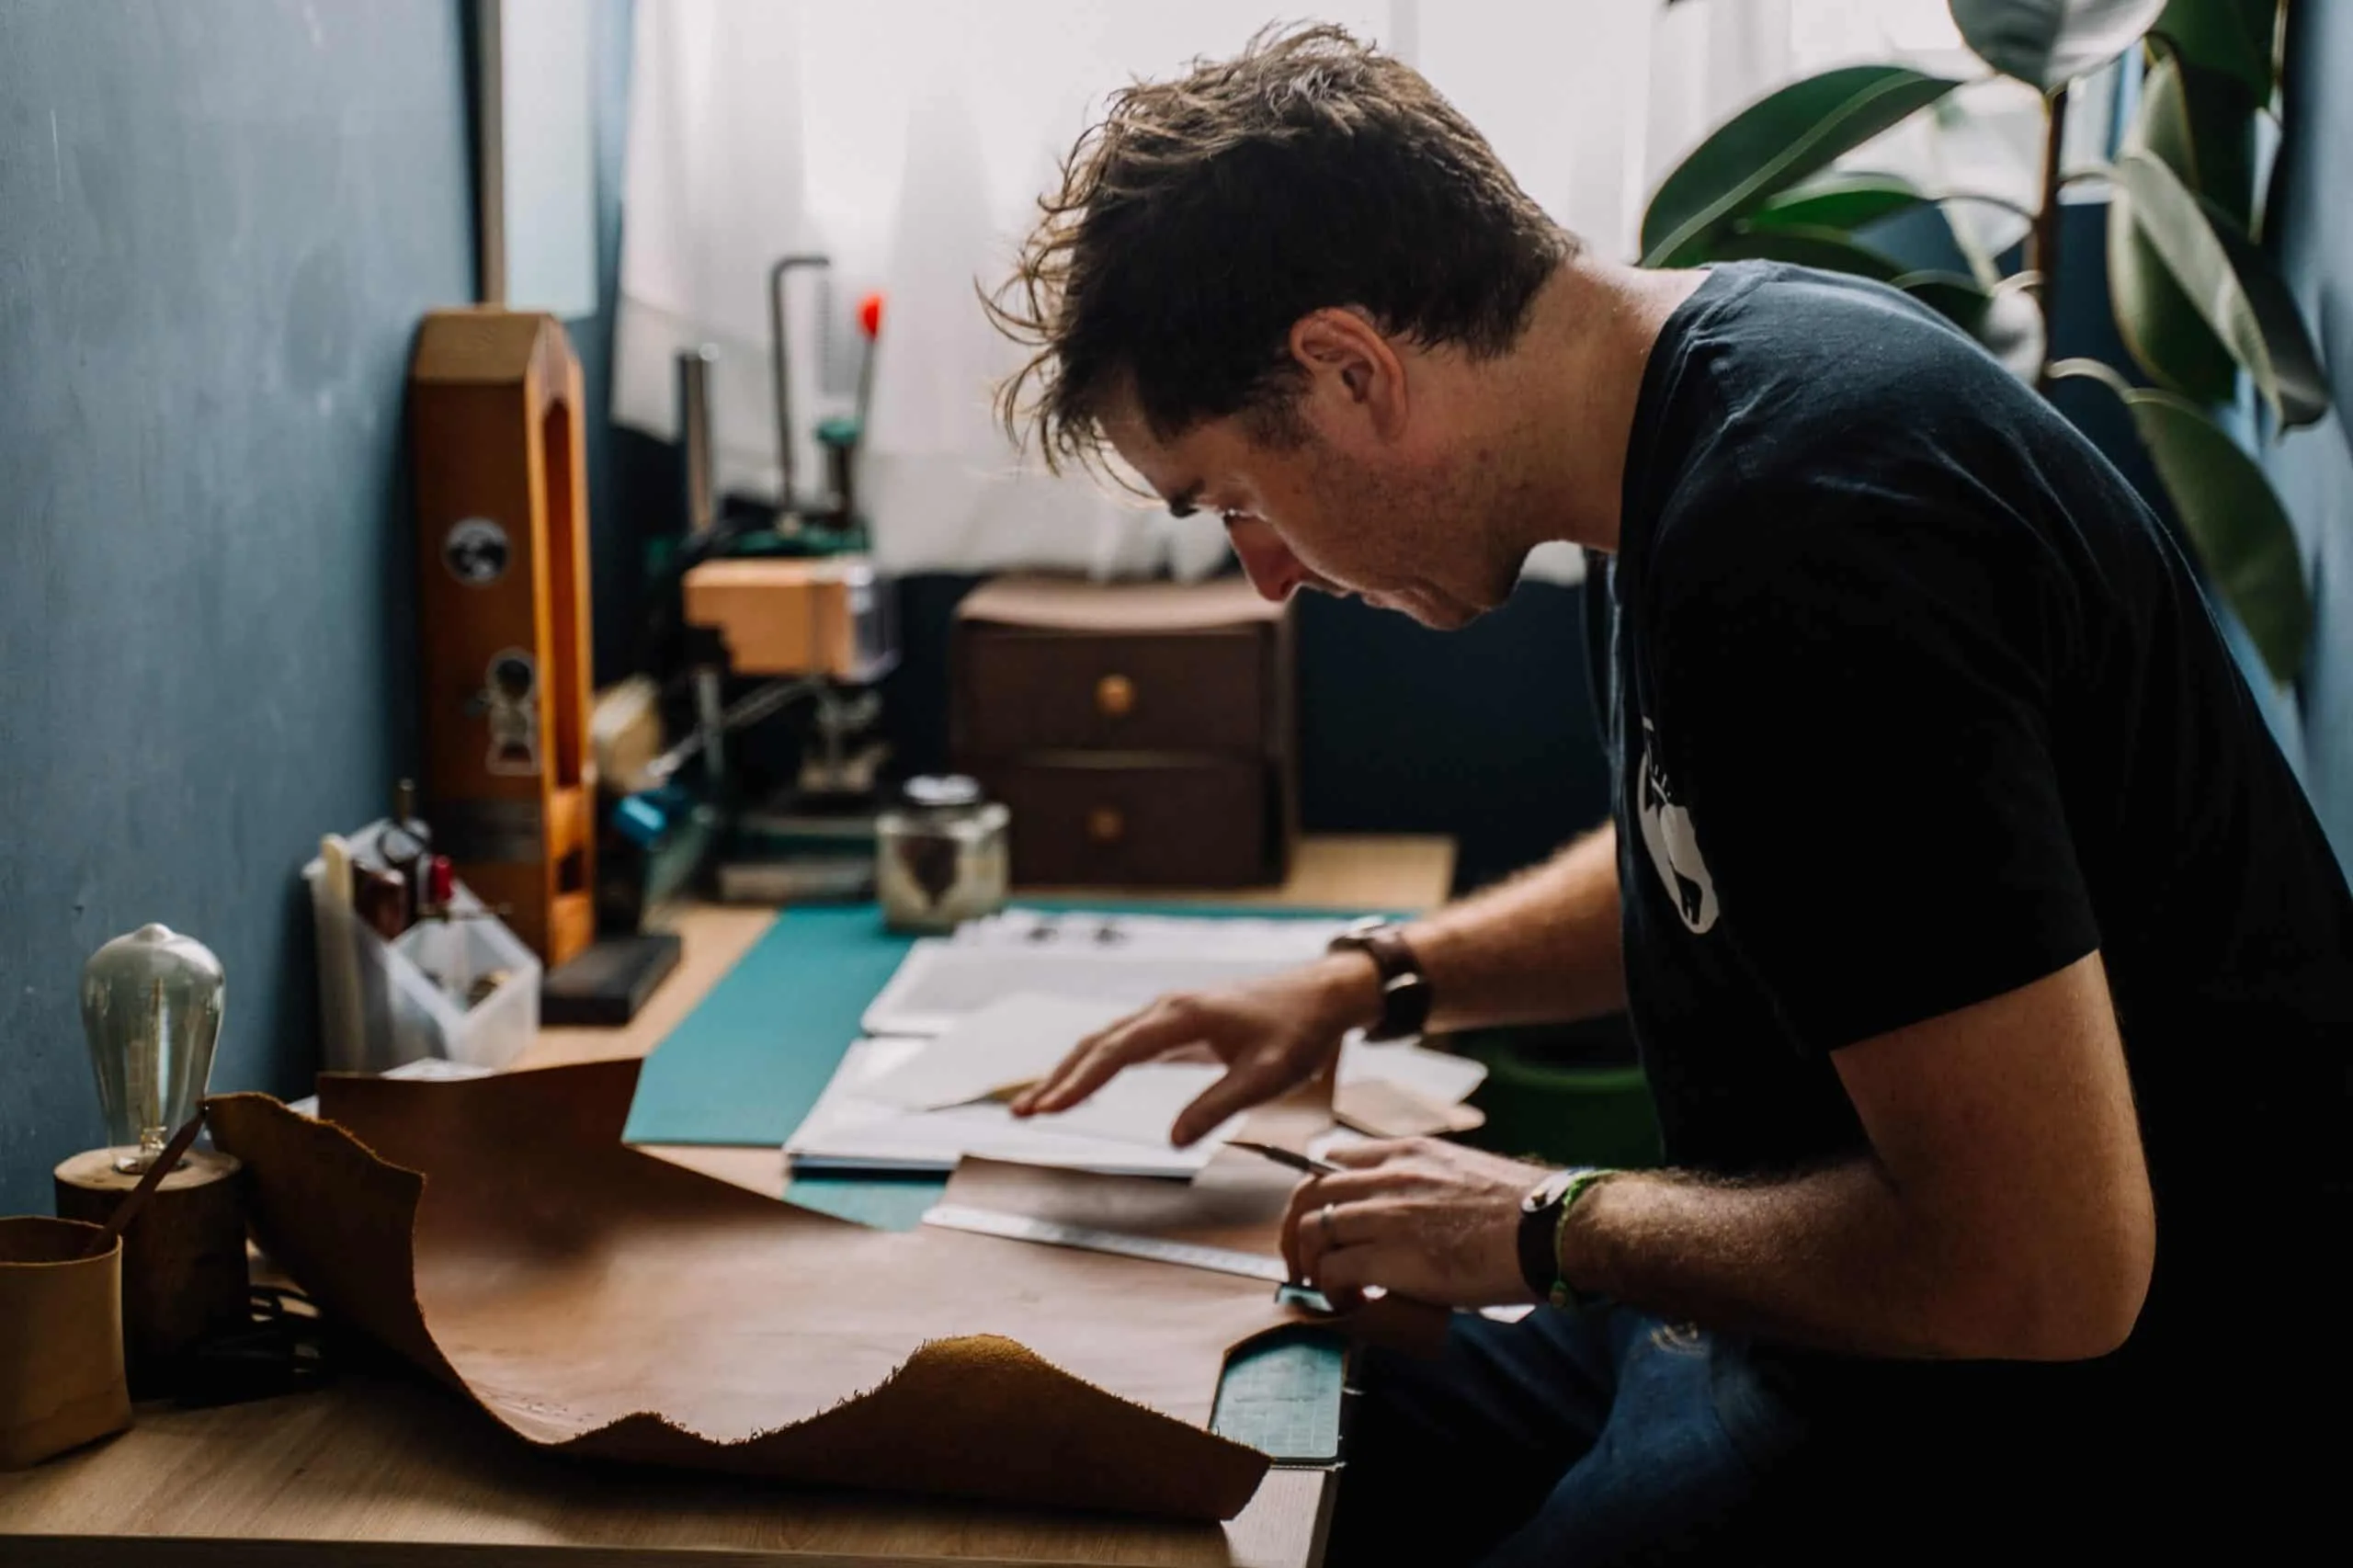
Setting Up Your Workbench
A sturdy workbench is the heart of any leathercraft workspace. It serves as the primary surface where all your projects come to life, so it’s essential to choose one that meets your needs in terms of size, height, and durability. Ideally, your workbench should be large enough to accommodate various projects simultaneously while still allowing for ample workspace around it.
A height-adjustable bench can also be beneficial, as it allows you to work comfortably whether you are sitting or standing. When setting up your workbench, consider adding features that enhance functionality. A cutting mat is an excellent addition, providing a protective surface for cutting leather while also helping to keep your blades sharp.
Additionally, incorporating a vice or clamps can secure materials in place during cutting or stitching, ensuring precision in your work. Keep frequently used tools within easy reach by installing a small shelf or drawer system on or near the bench. This setup will create an efficient workflow where everything you need is at your fingertips, allowing you to focus on the creative aspects of leathercraft.
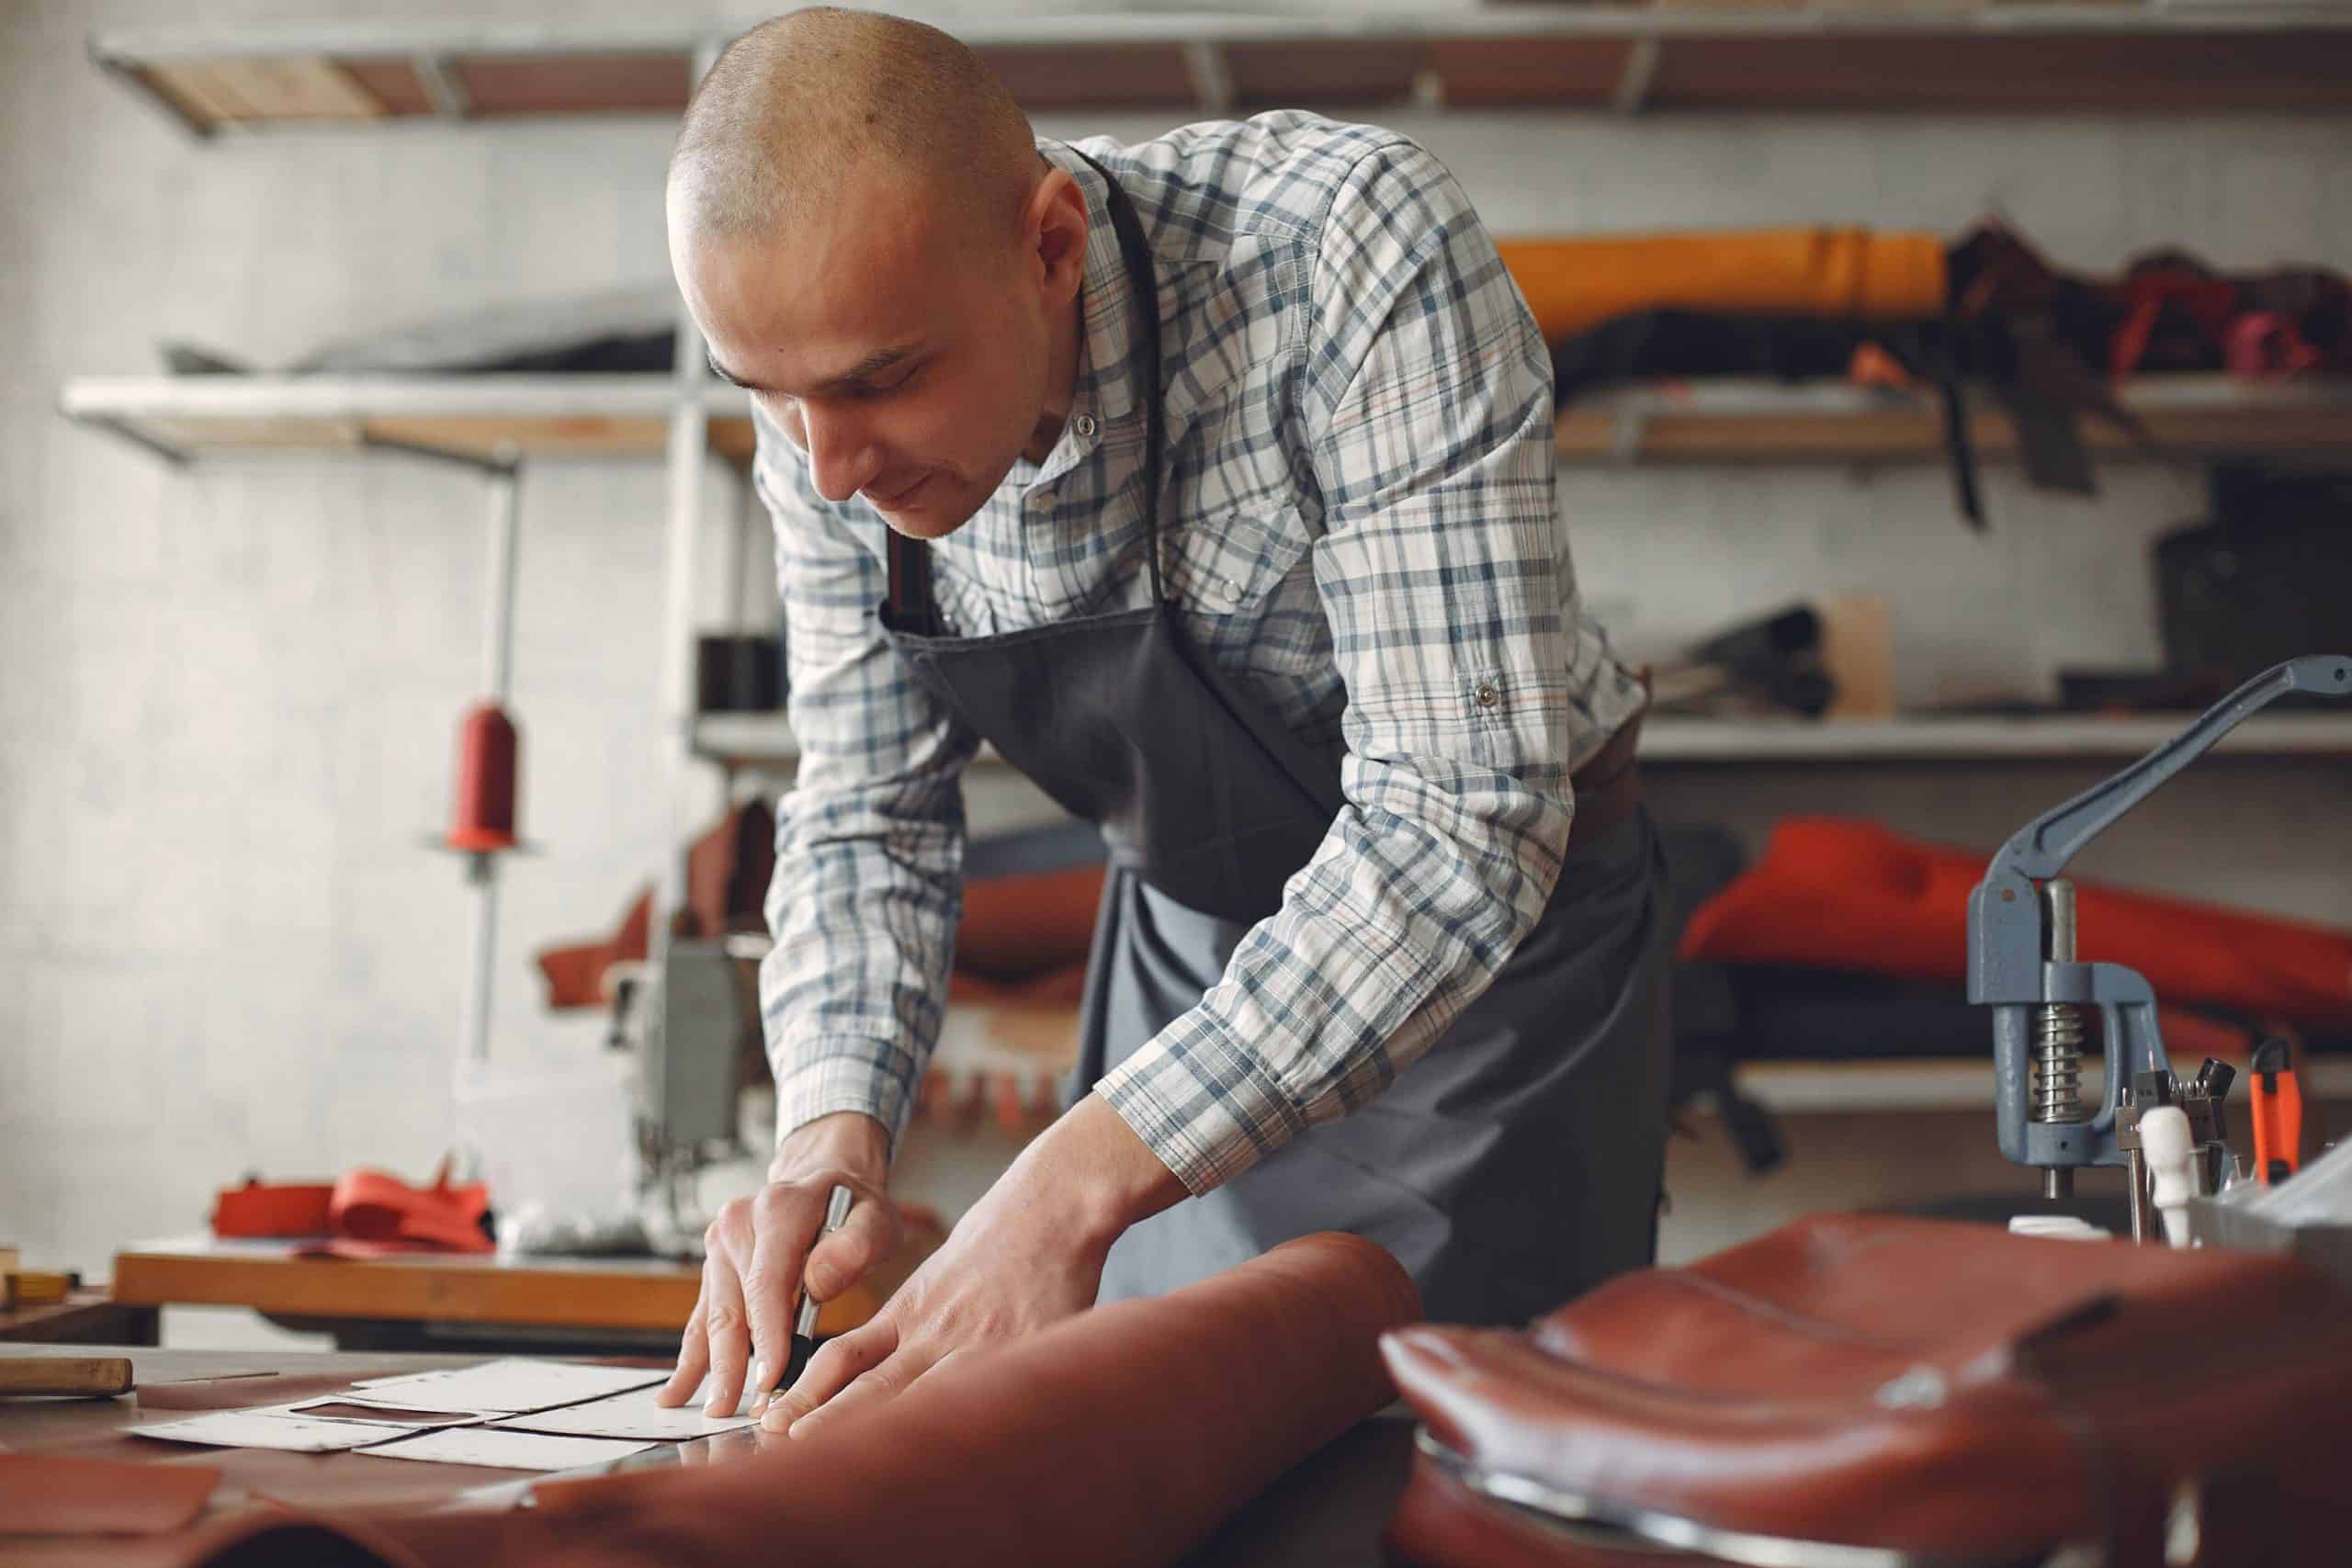
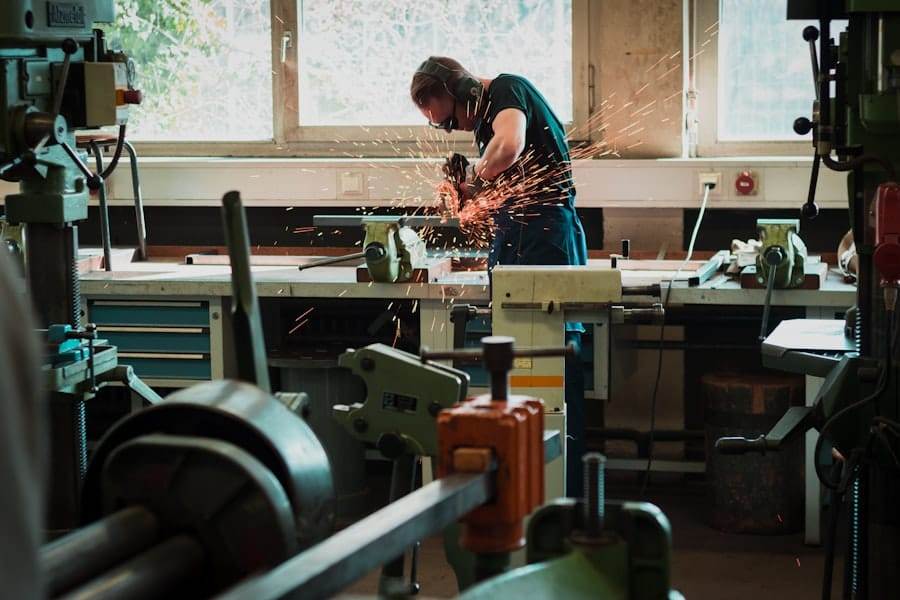
Creating a Cutting and Trimming Area
A designated cutting and trimming area is vital for any leathercraft workspace. This section should be separate from your main workbench to prevent damage to other materials and tools while providing ample space for cutting large pieces of leather. A sturdy table or surface that can withstand the pressure of cutting is essential; consider using a dedicated cutting table with a self-healing mat to protect both the table and your blades.
In this area, ensure that you have all necessary cutting tools readily available. High-quality leather knives, rotary cutters, and scissors should be organized in a way that allows for quick access while minimizing the risk of accidents. Additionally, having a ruler or straight edge nearby will help ensure clean cuts and precise measurements.
Consider incorporating a waste bin or container for scraps to keep the area tidy and organized as you work. By creating a well-defined cutting and trimming area, you will enhance both safety and efficiency in your leathercraft projects.
Setting Up Your Sewing Station
A sewing station is another critical component of a well-equipped leathercraft workspace. This area should be designed specifically for stitching leather pieces together, with all necessary tools and materials easily accessible. Start by selecting a sturdy table or desk that provides enough space for your sewing machine if you use one or ample room for hand sewing if that’s your preference.
In this station, organize your sewing supplies such as threads, needles, awls, and thimbles in a way that allows for easy access during projects. Consider using small containers or drawer organizers to keep these items sorted by type or color. If you are using a sewing machine, ensure that it is set up in a way that allows for smooth operation without obstruction from other tools or materials.
Additionally, having a comfortable chair at the right height will make long sewing sessions more enjoyable. By creating a dedicated sewing station within your workspace, you will streamline the stitching process and improve the overall quality of your leathercraft projects.
Creating a Leather Conditioning and Finishing Area
The final stages of any leathercraft project often involve conditioning and finishing the leather to achieve the desired look and feel. Establishing a dedicated area for these tasks is essential to protect other surfaces from potential spills or stains caused by dyes, conditioners, or finishes. This area should be well-ventilated to ensure safety while working with chemicals and should ideally have easy-to-clean surfaces.
In this conditioning and finishing area, organize all necessary products such as leather conditioners, dyes, sealants, and applicators within easy reach. Consider using trays or caddies to keep these items organized and prevent them from spilling onto other surfaces. It’s also wise to have cleaning supplies on hand to quickly address any accidents that may occur during the finishing process.
By creating a specific area for conditioning and finishing leather, you will ensure that these important steps are carried out effectively while maintaining a clean workspace.
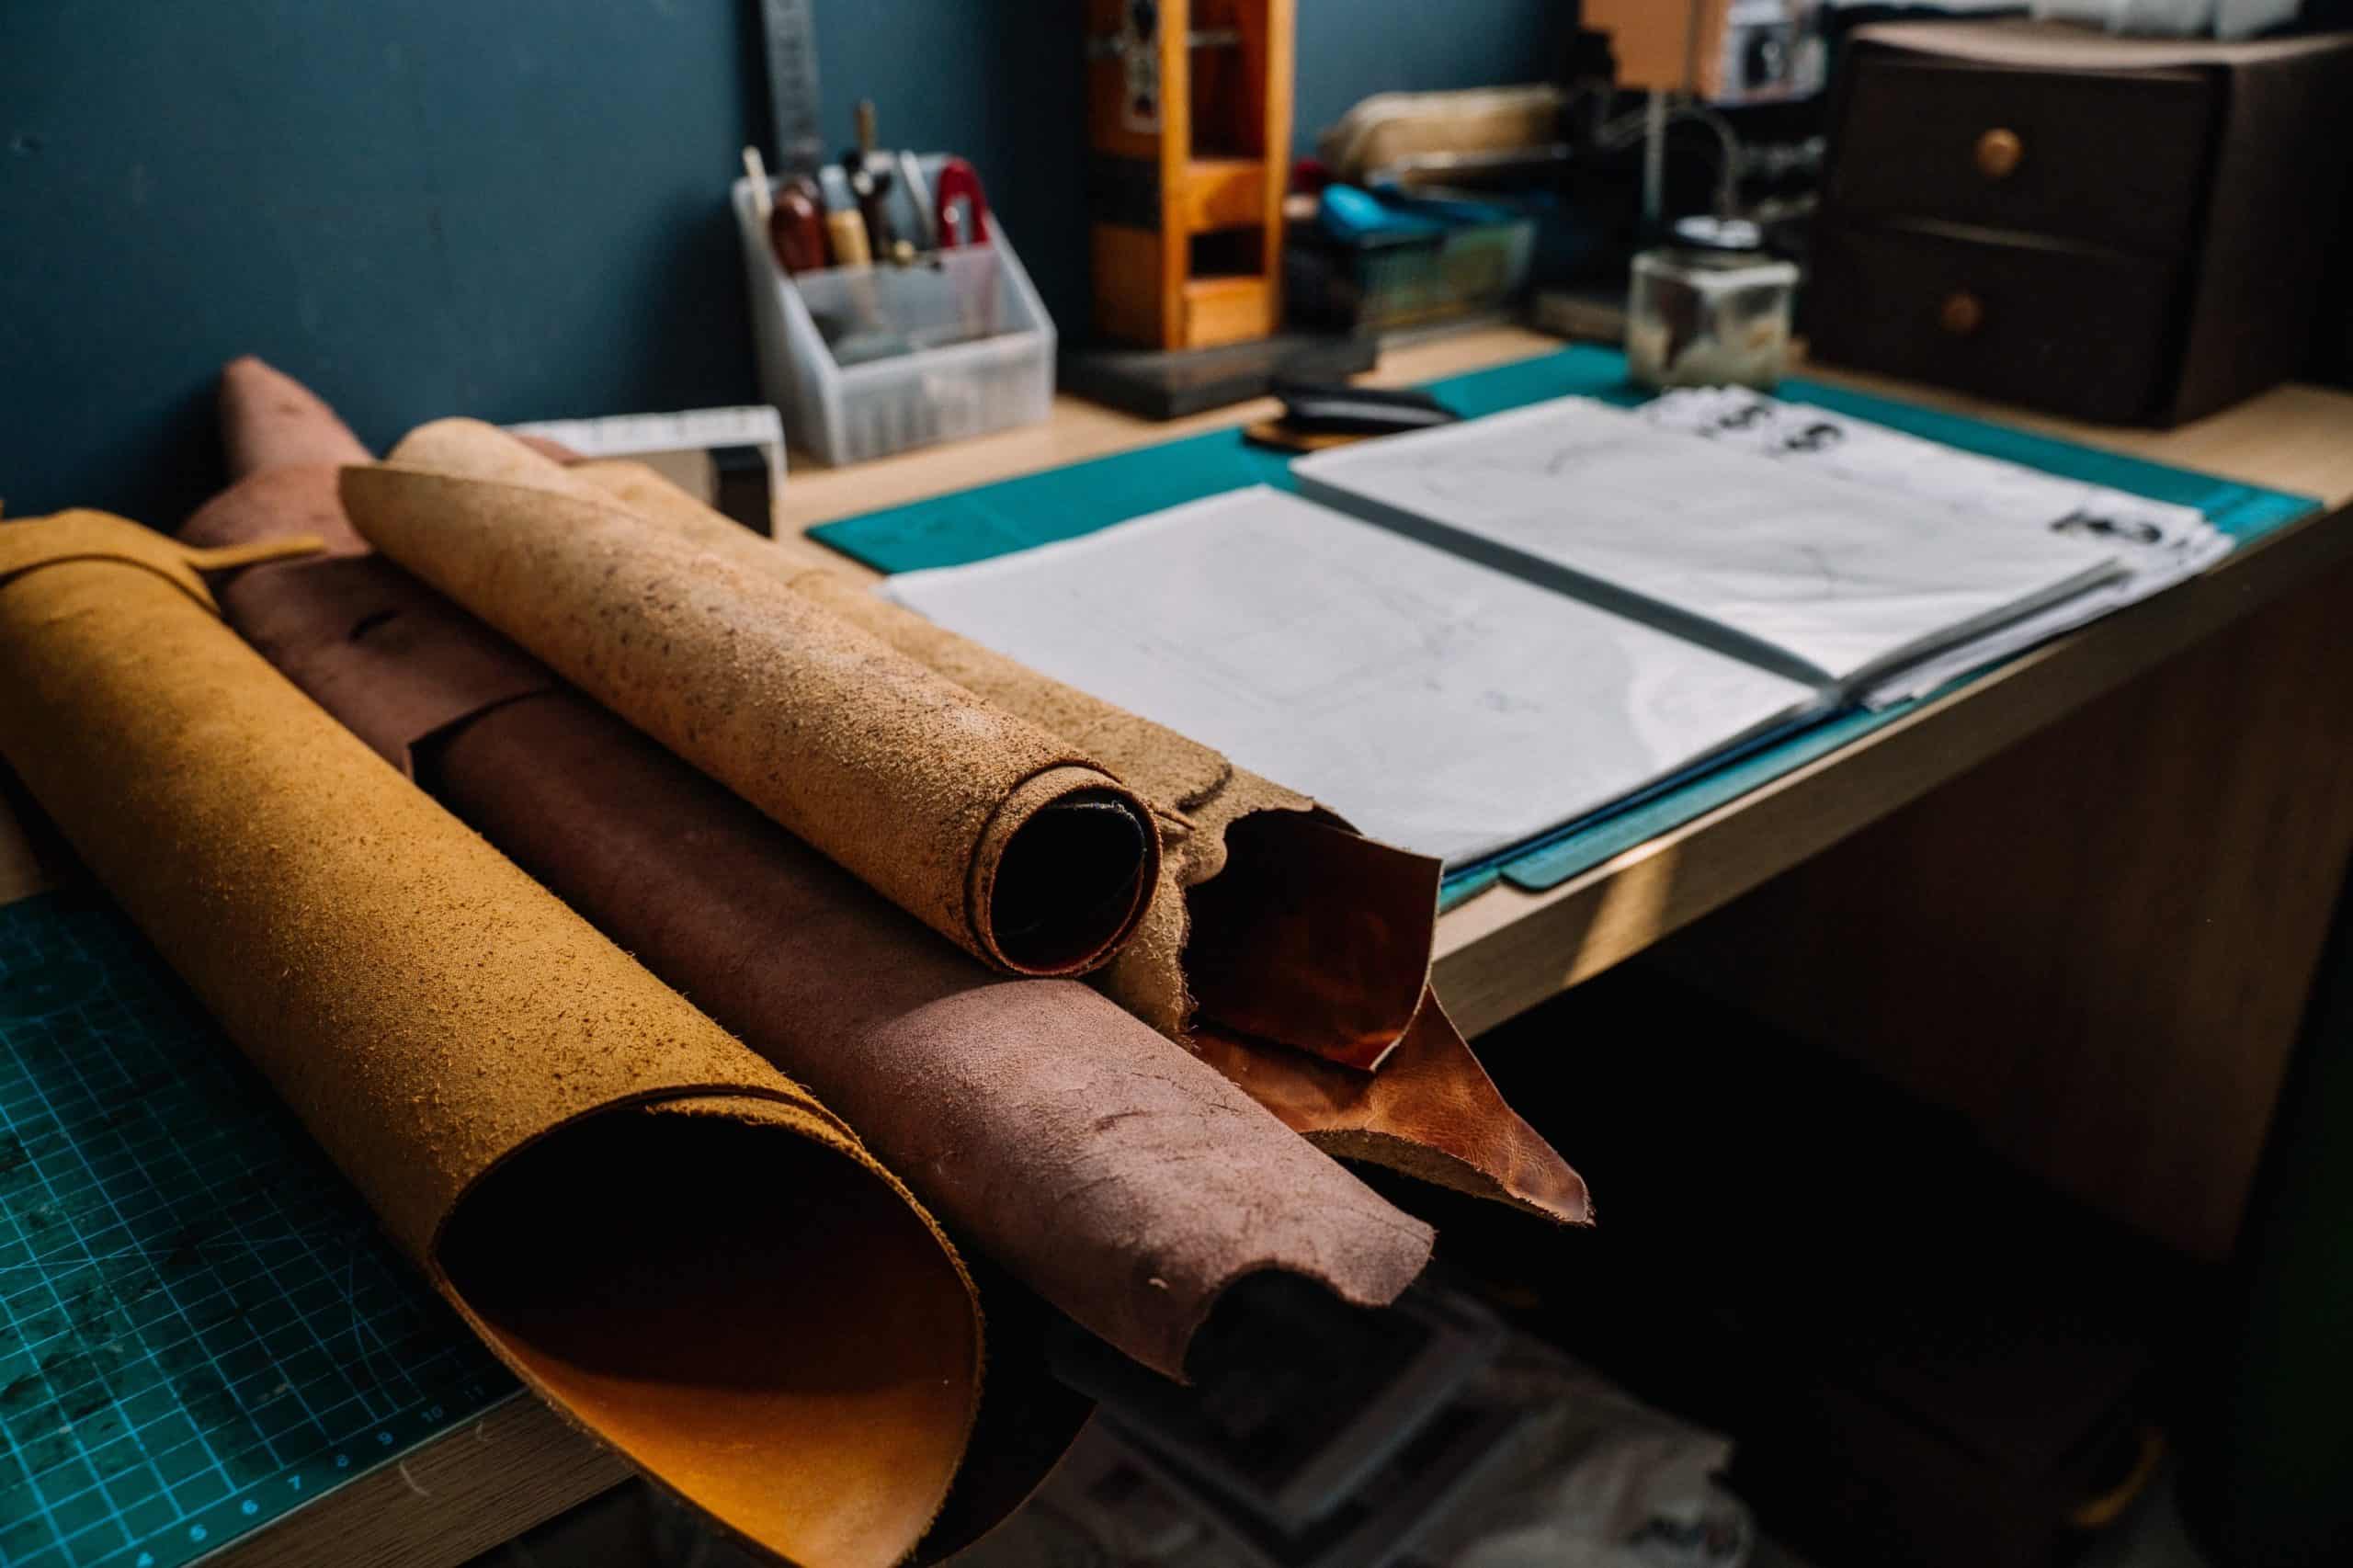
Storage Solutions for Leathercraft Supplies
Effective storage solutions are vital for keeping your leathercraft supplies organized and easily accessible. As your collection of materials grows—whether it’s different types of leather, hardware like buckles and rivets, or various tools—having a systematic approach to storage becomes increasingly important. Consider investing in clear plastic bins or stackable containers that allow you to see what’s inside without having to open each one individually.
Shelving units can also be beneficial for storing larger items such as rolls of leather or bulk supplies. Labeling each container or shelf will help you quickly locate specific items when needed. Additionally, think about vertical storage options like wall-mounted racks for tools or hanging organizers for smaller supplies; this not only saves space but also keeps everything within arm’s reach while working on projects.
By implementing thoughtful storage solutions in your workspace, you will create an organized environment that enhances both creativity and efficiency.
Personalizing Your Workspace
Finally, personalizing your workspace can significantly enhance your enjoyment of leathercrafting. A space that reflects your personality can inspire creativity and make long hours spent working more enjoyable. Consider adding elements such as artwork related to leathercraft or photographs of completed projects that motivate you every time you enter the room.
Incorporating comfortable seating options or decorative touches like plants can also make the space feel more inviting. You might choose to display some of your favorite tools or materials in an aesthetically pleasing way—perhaps on shelves or in shadow boxes—to celebrate your craft visually. Personalizing your workspace not only makes it uniquely yours but also creates an atmosphere that encourages creativity and productivity in every project you undertake.
By thoughtfully considering each aspect of your leathercraft workspace—from choosing the right space to personalizing it—you can create an environment that fosters creativity and efficiency while allowing you to fully enjoy the art of leathercrafting.
FAQs
What are the essential tools needed for setting up a leathercraft working station?
Some essential tools for setting up a leathercraft working station include cutting tools (such as a utility knife or rotary cutter), stitching tools (such as needles and thread), punching tools (such as hole punches and awls), and finishing tools (such as edge bevelers and burnishing tools).
How should I organize my leathercraft working station?
Organize your leathercraft working station by keeping all your tools and materials within easy reach. Consider using storage containers, shelves, and pegboards to keep everything organized and easily accessible.
What type of workspace is ideal for leathercrafting?
An ideal workspace for leathercrafting is a sturdy and spacious table or workbench. It should have a smooth surface to work on and be comfortable to stand or sit at for extended periods of time.
What safety precautions should I take when setting up a leathercraft working station?
When setting up a leathercraft working station, it’s important to use proper safety equipment such as gloves and eye protection when working with sharp tools. Additionally, make sure to keep your work area well-ventilated when using adhesives or dyes.
How can I customize my leathercraft working station to fit my specific needs?
You can customize your leathercraft working station by adding additional storage solutions, such as drawers or bins, to keep your tools and materials organized. You can also add task lighting to ensure that your workspace is well-lit.