Leathercraft Workshop Setup for Strap Making
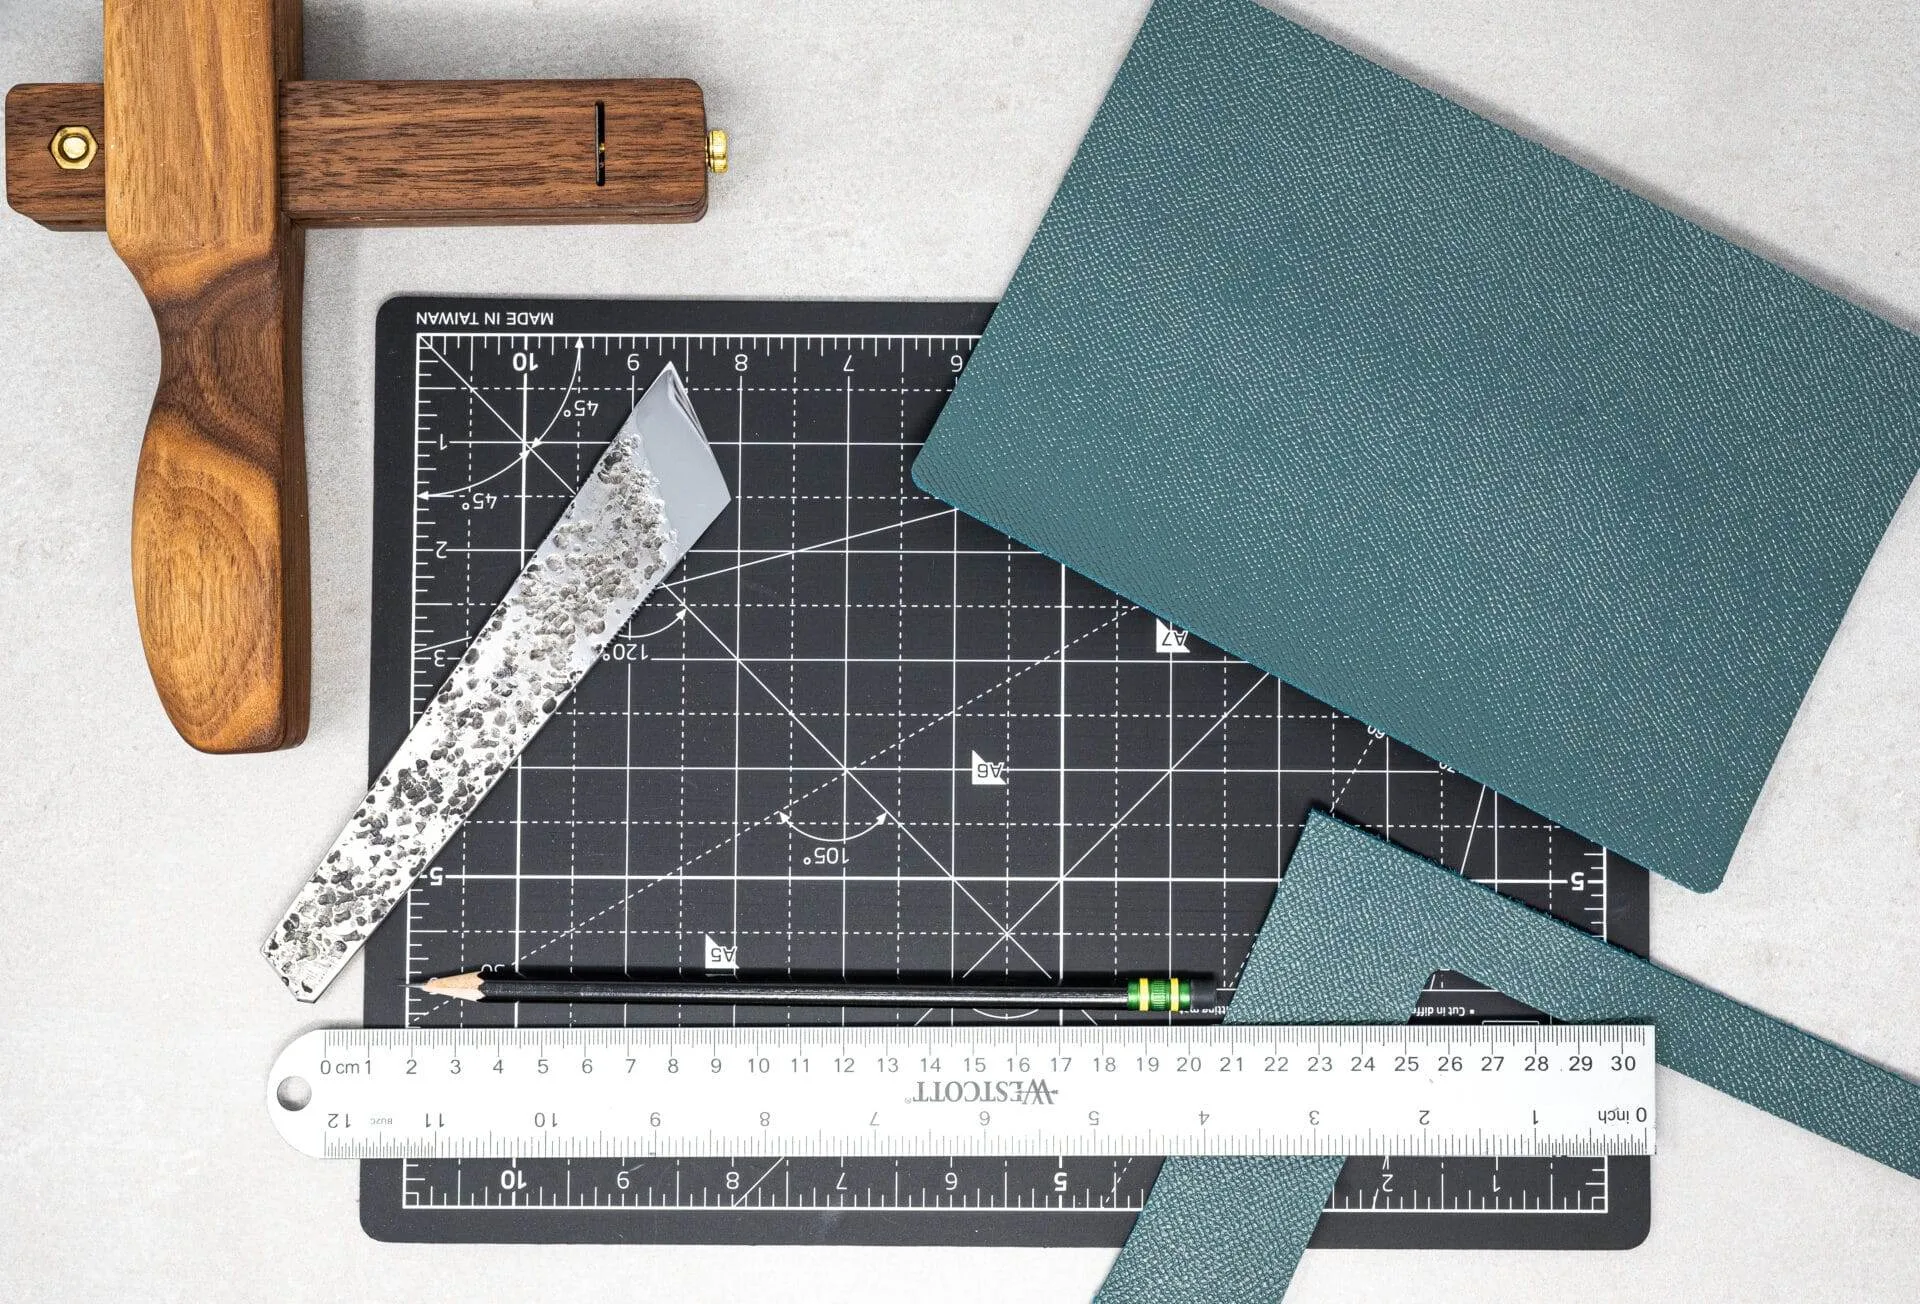
When embarking on a leatherworking project, the selection of tools and equipment is paramount. The right tools not only enhance the quality of your work but also make the crafting process more enjoyable. Essential tools for leather crafting include knives, awls, cutting mats, rulers, and various types of punches.
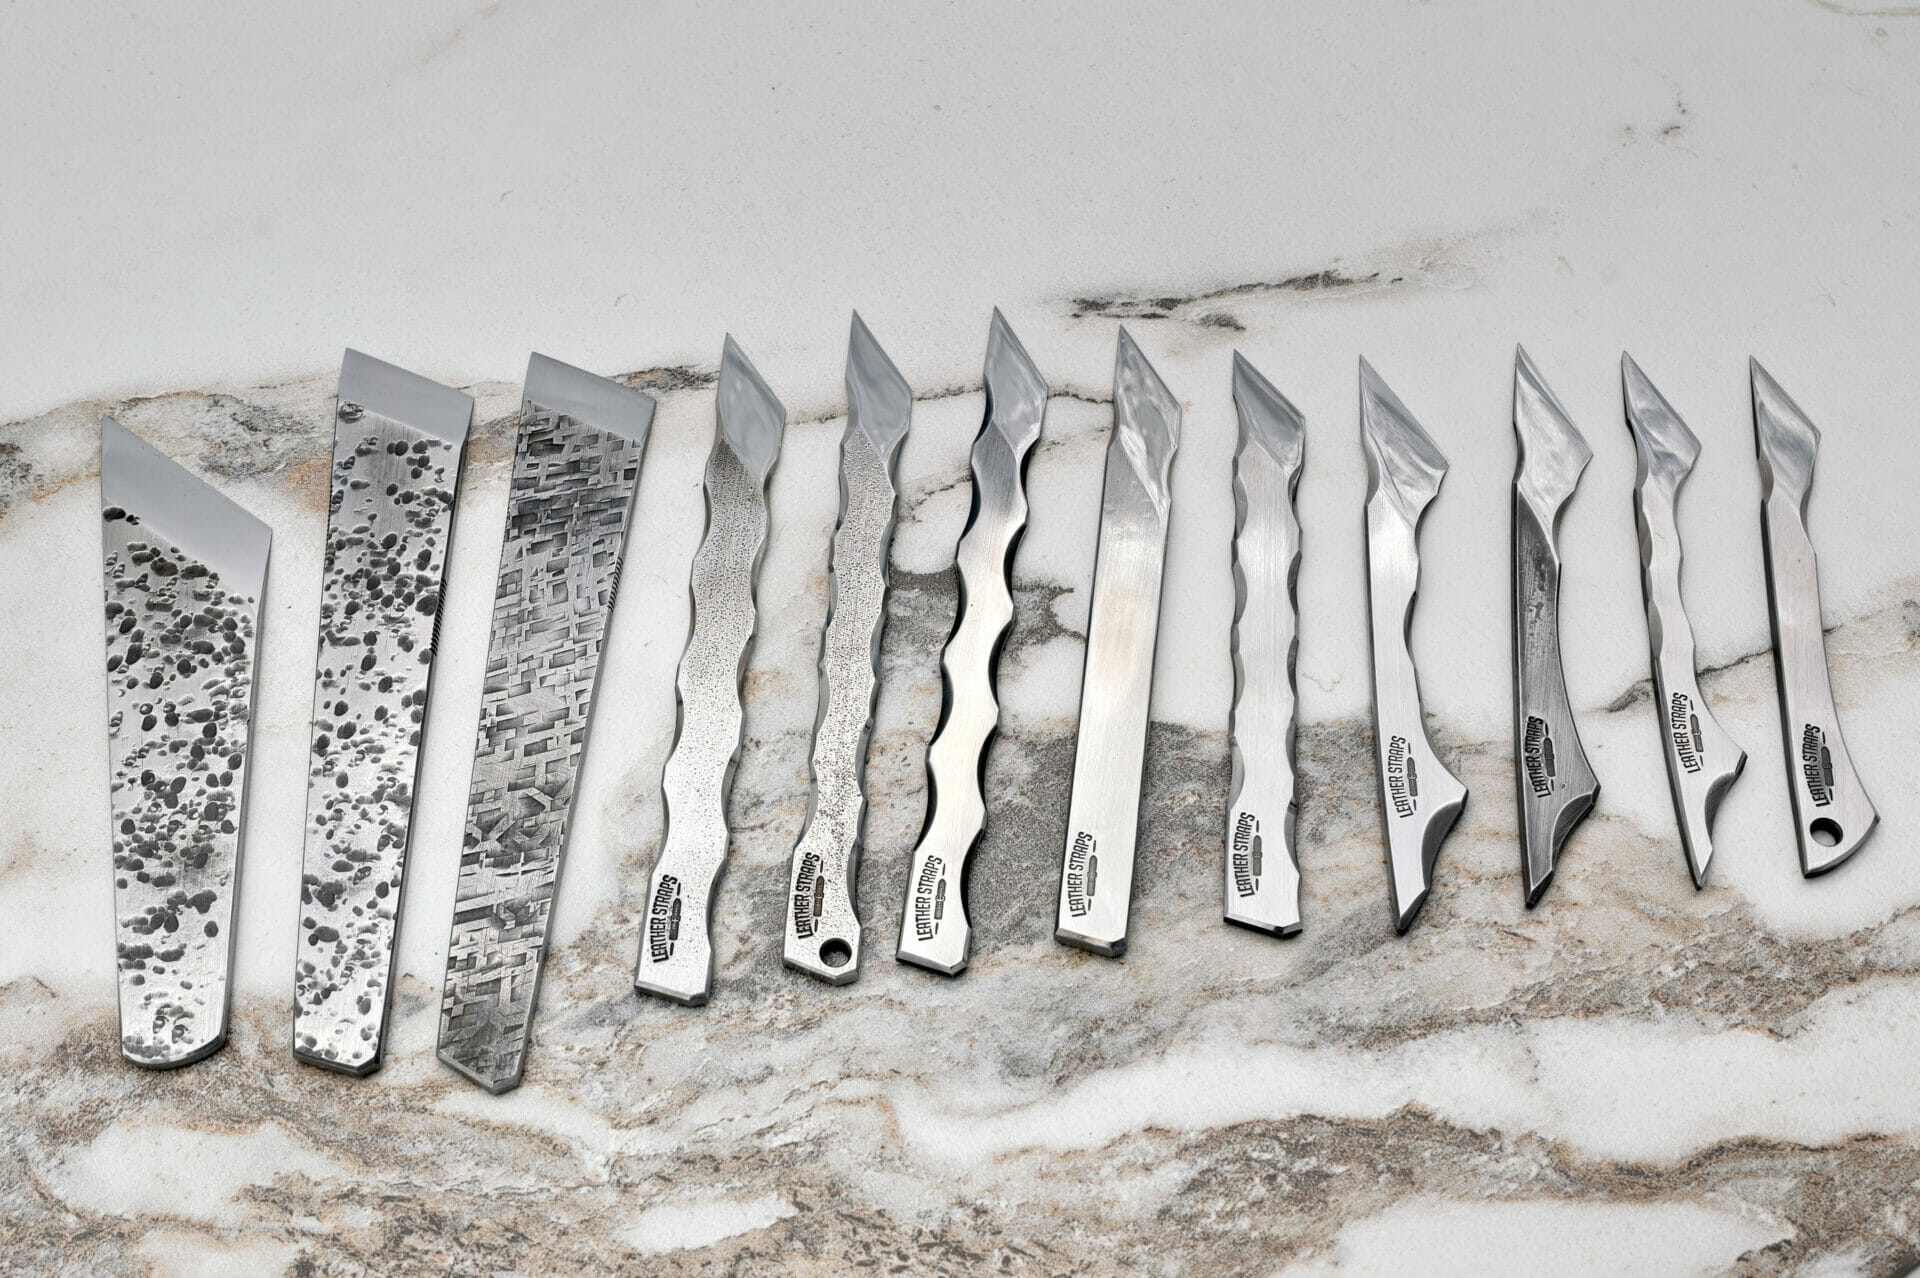
A high-quality leathercraft knife is indispensable for making precise cuts, while an awl is crucial for marking and creating holes in the leather. Investing in a good cutting mat can protect your work surface and prolong the life of your blades. In addition to these basic tools, consider incorporating specialized equipment that can elevate your craftsmanship.
For instance, a rotary cutter can be beneficial for cutting long, straight lines, while a stitching pony can hold your leather pieces securely while you work on them. A variety of edge tools, such as edge bevelers and burnishers, can help you achieve a professional finish on your straps. Ultimately, the right combination of tools will depend on your specific projects and personal preferences, but starting with a solid foundation will set you on the path to success.
Key Takeaways
- Choose tools and equipment that are suitable for leatherworking, such as cutting tools, stitching tools, and edge finishing tools.
- Select high-quality leather material that is appropriate for the project, considering factors such as thickness, texture, and color.
- Design and cut the leather straps according to the desired dimensions and shape, ensuring precision and accuracy in the cutting process.
- Use skiving and edging techniques to thin out and smooth the edges of the leather straps for a professional and polished look.
- Employ proper hole punching and stitching methods to securely attach the straps and create durable and aesthetically pleasing seams.
Selecting the Best Leather Material
The choice of leather material is a critical factor that influences both the aesthetics and durability of your finished product. Leather comes in various types, each with its unique characteristics. Full-grain leather is often considered the highest quality due to its natural texture and strength.
It ages beautifully, developing a rich patina over time. Top-grain leather is another popular option, offering a balance between durability and affordability. It has been sanded and treated to remove imperfections, resulting in a smoother surface.
When selecting leather for straps, consider the intended use and desired appearance. For example, if you are crafting straps for bags or belts that will endure daily wear and tear, opting for thicker leather may be wise. Conversely, if you are creating decorative straps for lighter applications, thinner leather could suffice.
Additionally, pay attention to the leather’s finish; some may have a natural look while others are dyed or treated for specific effects. Understanding the properties of different leather types will help you make informed decisions that align with your project goals.
Designing and Cutting the Straps
Once you have chosen your leather material, the next step is to design and cut your straps. This phase involves careful planning to ensure that your straps not only meet functional requirements but also reflect your creative vision. Start by sketching out your design on paper or using design software to visualize the final product.
Consider factors such as length, width, and any additional features like holes or decorative elements. A well-thought-out design will guide you during the cutting process and help avoid costly mistakes. When it comes to cutting the leather, precision is key.
Use a sharp leathercraft knife or rotary cutter to achieve clean edges. A straightedge ruler can assist in making straight cuts, while templates can be helpful for more complex shapes. Always measure twice before cutting to ensure accuracy.
If you’re working with thicker leather, take your time and apply steady pressure to avoid jagged edges. After cutting, inspect each piece for any imperfections that may need addressing before moving on to the next steps in your crafting process.
Skiving and Edging Techniques
Skiving is an essential technique in leatherworking that involves thinning the edges of your leather pieces to create a smoother transition between layers or to reduce bulk in seams. This process is particularly useful when joining multiple layers of leather or when preparing edges for stitching. To skive effectively, use a sharp skiving knife or a specialized skiving tool.
Angle the blade appropriately and apply even pressure as you glide it along the edge of the leather. Practice is crucial here; mastering skiving will significantly enhance the overall appearance of your finished straps. Edging techniques also play a vital role in achieving a polished look for your straps.
After skiving, you can use an edge beveler to round off the corners of your leather pieces, which not only improves aesthetics but also prevents fraying. Following this step, burnishing the edges will create a smooth finish that feels pleasant to the touch. You can use a burnishing tool or simply rub the edges with a damp cloth or wood slicker to achieve this effect.
The combination of skiving and edging techniques will elevate your leather straps from basic to beautifully crafted pieces.
Hole Punching and Stitching
Hole punching is another critical step in the leather crafting process, especially when preparing for stitching. Accurate hole placement ensures that your stitches are evenly spaced and contribute to both the strength and visual appeal of your straps. A set of hole punches in various sizes will allow you to create holes that accommodate different thread thicknesses.
When punching holes, use a mallet to strike the punch firmly but carefully; this will help prevent damage to both the punch and the leather. Once your holes are punched, it’s time to stitch your straps together. There are several stitching techniques available, but saddle stitching is widely regarded as one of the strongest methods for leatherwork.
This technique involves using two needles and a single length of thread, allowing for a secure and durable seam. As you stitch, maintain consistent tension on the thread to ensure an even appearance throughout. Take your time during this process; quality stitching not only enhances durability but also adds an element of craftsmanship that elevates your work.
Adding Hardware and Accessories
Incorporating hardware and accessories into your leather straps can significantly enhance their functionality and style. Depending on your design, you may want to add buckles, rivets, snaps, or D-rings to create adjustable lengths or secure closures. When selecting hardware, consider both aesthetics and durability; choose materials that complement your leather while also standing up to wear over time.
Before attaching hardware, ensure that you have accurately marked where each piece will go. Use a ruler or measuring tape to maintain symmetry and balance in your design. When installing hardware like rivets or snaps, follow manufacturer instructions carefully to ensure proper attachment.
A dedicated setting tool can help you achieve a secure fit without damaging the surrounding leather. The thoughtful addition of hardware not only enhances functionality but also allows for personalization that reflects your unique style.
Finishing and Conditioning the Straps
The finishing touches on your leather straps are crucial for both protection and aesthetics. After completing all stitching and hardware attachment, consider applying a finish that suits your project’s needs. Leather finishes come in various forms—dyes, paints, or sealants—and can enhance color while providing a protective layer against moisture and wear.
If you prefer a natural look, consider using beeswax or natural oils to condition the leather while maintaining its original appearance. Conditioning is an essential step that helps keep leather supple and prevents it from drying out over time. Regular conditioning will prolong the life of your straps and maintain their beauty.
Apply conditioner evenly using a soft cloth or sponge, allowing it to absorb fully before buffing off any excess product. This process not only nourishes the leather but also enhances its natural luster, giving your finished straps a professional look.
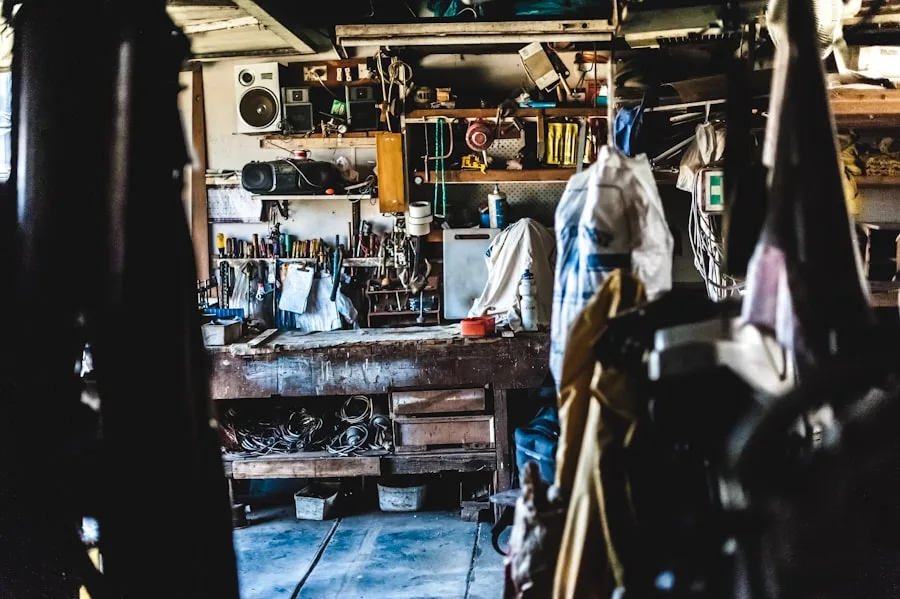
Tips for Setting Up a Productive Workshop
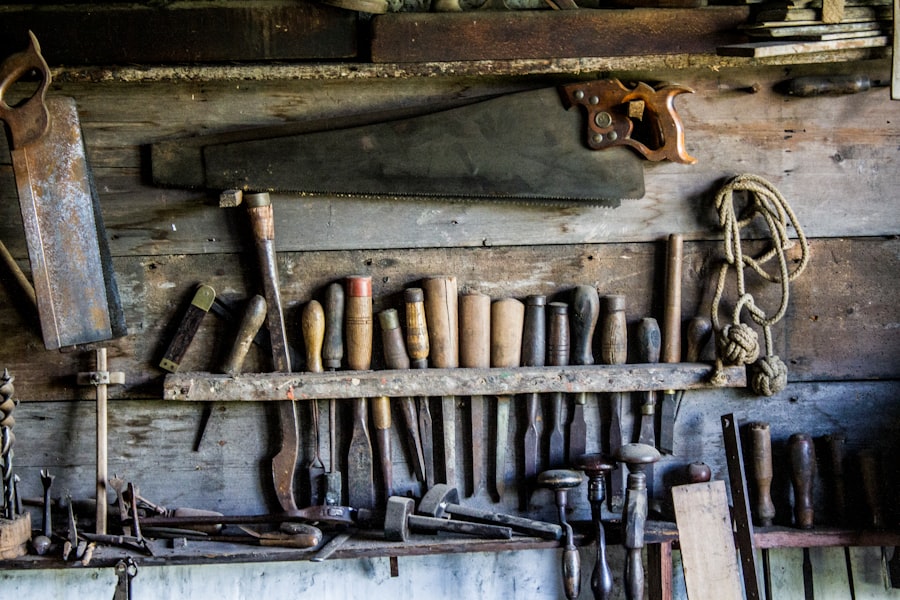
Creating an efficient workshop environment is vital for maximizing productivity in your leather crafting endeavors. Start by organizing your tools and materials in a way that makes them easily accessible during projects. Consider investing in storage solutions such as toolboxes or shelving units to keep everything tidy and within reach.
A clean workspace minimizes distractions and allows you to focus on your craft. Lighting is another crucial aspect of an effective workshop setup. Ensure that you have adequate lighting to illuminate your work area without causing glare or shadows that could hinder precision tasks like cutting or stitching.
Natural light is ideal if available; otherwise, consider using bright LED lights that mimic daylight conditions. Additionally, think about ergonomics when arranging your workspace. Position your cutting table at a comfortable height to reduce strain on your back while working for extended periods.
A sturdy chair with good support can also make a significant difference in comfort levels during long crafting sessions. By following these guidelines for setting up a productive workshop, you’ll create an environment conducive to creativity and craftsmanship—allowing you to focus on producing high-quality leather straps that showcase your skills and passion for leatherworking.
FAQs
What is leathercraft workshop setup for strap making?
Leathercraft workshop setup for strap making refers to the arrangement and organization of tools, equipment, and materials needed to create leather straps. This includes workbenches, cutting tools, sewing machines, leather materials, and other necessary supplies.
What are the essential tools and equipment needed for a leathercraft workshop setup for strap making?
Essential tools and equipment for a leathercraft workshop setup for strap making include cutting tools such as utility knives and strap cutters, sewing machines, leather punches, edge bevelers, burnishing tools, and rulers. Additionally, workbenches, cutting mats, and storage for leather materials are also important.
How should the workspace be organized for a leathercraft workshop setup for strap making?
The workspace for a leathercraft workshop setup for strap making should be organized in a way that allows for easy access to tools and materials. Workbenches should be clear and spacious, with designated areas for cutting, sewing, and finishing. Storage for leather materials should be organized and easily accessible.
What are the safety considerations for a leathercraft workshop setup for strap making?
Safety considerations for a leathercraft workshop setup for strap making include proper ventilation for any adhesives or dyes used, as well as the use of protective equipment such as gloves and eye protection when working with cutting tools and dyes. Additionally, keeping work areas clean and free of clutter can help prevent accidents.
How can one optimize their leathercraft workshop setup for strap making for efficiency?
To optimize a leathercraft workshop setup for strap making for efficiency, it is important to have a well-organized workspace with easy access to tools and materials. Additionally, having a streamlined workflow and utilizing time-saving tools such as strap cutters and edge bevelers can help improve efficiency. Regular maintenance of tools and equipment is also important for smooth operations.